
KMAC COUTURE XI CAMPAIGN
As a visual storyteller, I’m always considering the way that we translate our thoughts from words and ideas into fully formed pieces of art. With nearly 1 million words in the English language, we’ve developed a means of expressing ourselves that leaves no stone unturned. There are words for every feeling, color, and experience you could imagine, and these words help us artists conceptualize projects and bring them to fruition. When I learned that the 2023 theme for the upcoming Louisville, Kentucky fashion show, KMAC Couture, is centered around literature, I was excited to explore the relationship between language and imagery in a whole new way.
Every spring the KMAC Contemporary Art Museum hosts a large fundraiser fashion show, where they close down the main street in Louisville. This past January, I was approached by Kris Thompson the Development & Special Projects Manager to develop the promotional assets for 2023. As a loyal board member, I had wanted to do the marketing campaign for the past two years, but with all the traveling and projects, I just didn’t have the time. This year I made sure I had a flexible schedule and energy, so we could really create images that are unique, powerful, and scroll-stopping.
The annual fashion show is one of my favorite events to both contribute to and attend. It provides young designers with the opportunity to showcase their work in front of potential sponsors, while also getting to network with some of the biggest creative names the city has to offer. And over the years I’ve found it a welcome chance to catch up with other photographers, filmmakers, stylists, and artists that also acts as a kick-off to the Kentucky Derby season.

When I was first given the theme, my initial inspiration came from the colorful and bold pages of comic books and graphic novels. Avant-Garde designs are meant to push the boundaries of what is “ready-to-wear” fashion, and I wanted the setting for these garments to strike a similar tone. Each element of a set can help tell the story of the subject, just like a character in a book. The backdrop or background acts as the setting, telling the audience where in reality (or in this case space-time) the story takes place. And lights, colors, or graphics add layers of complexity to the scene, bringing emotion and depth to a model's face with the right undertone of hues.
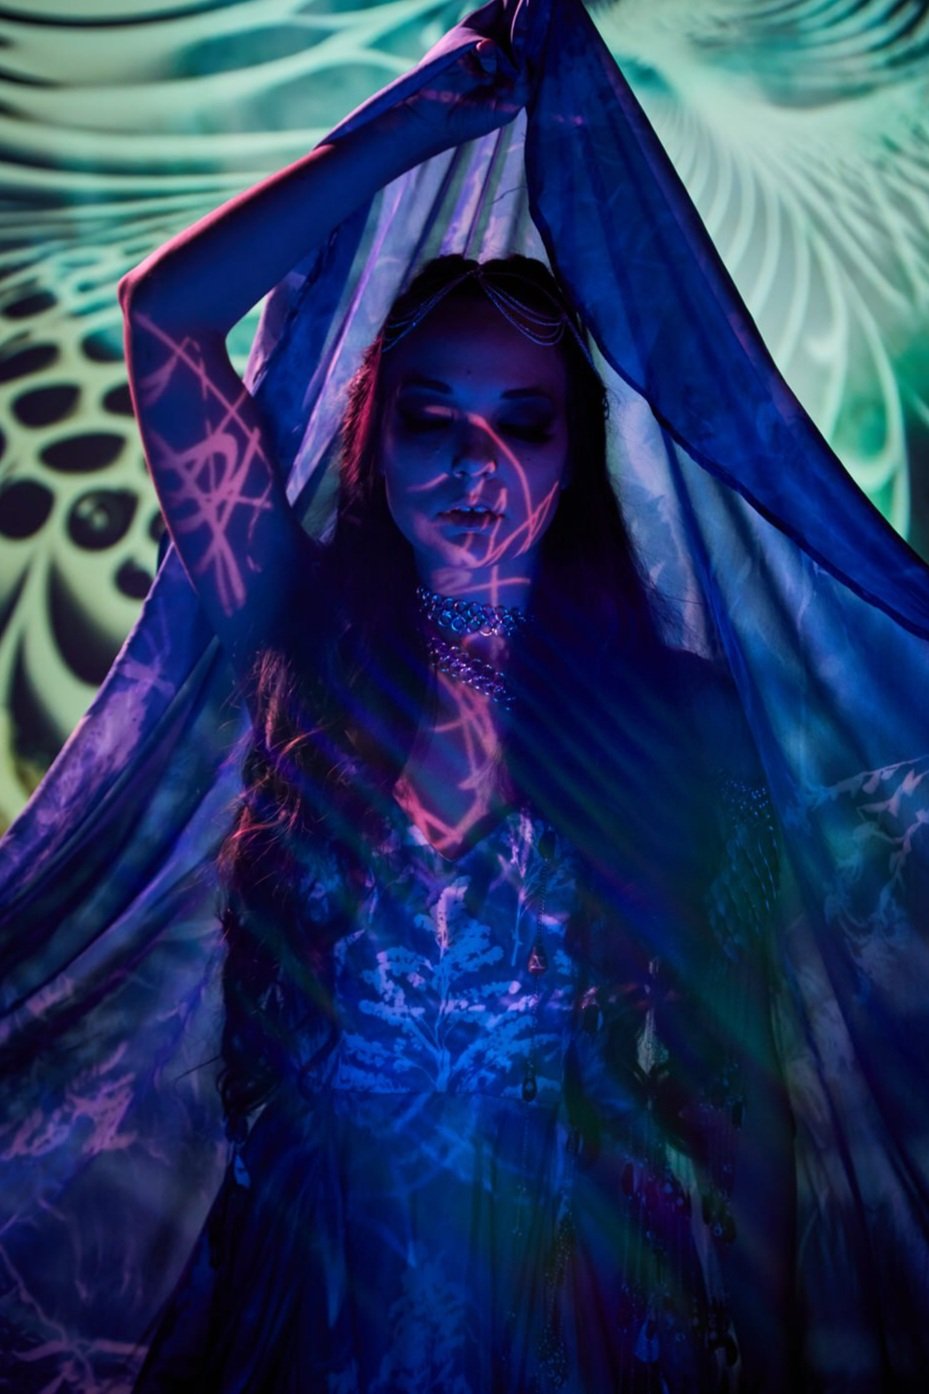
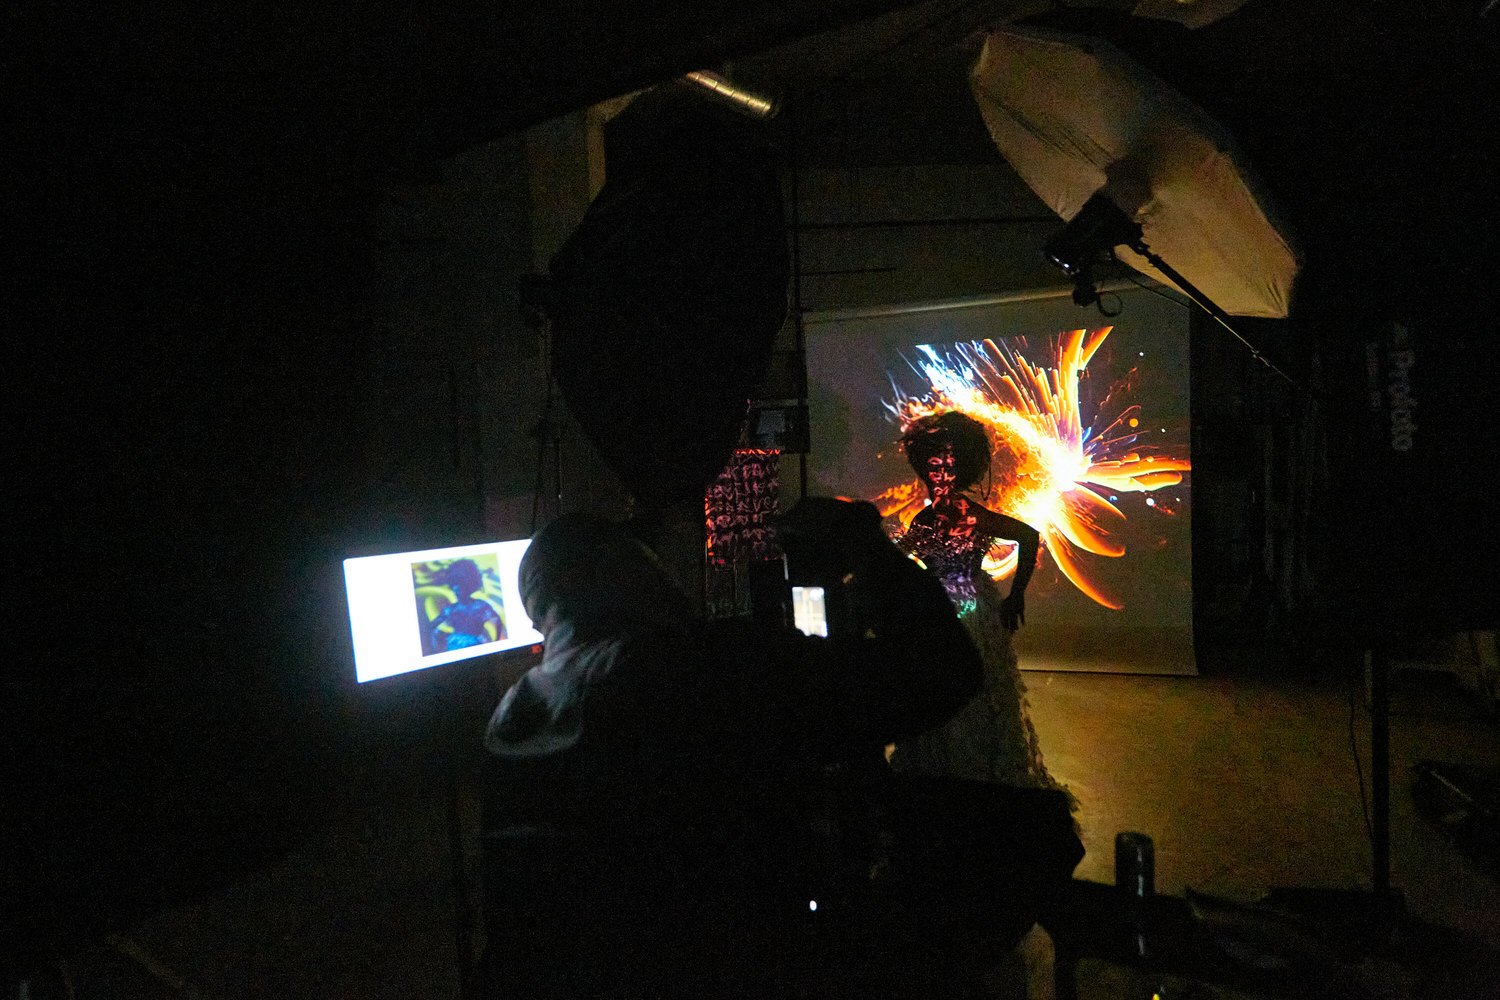
I dreamt up a concept where we would project(using a projector) abstract, space-like designs both behind and onto the models using a myriad of different elements. While the garments would be walking down a runway in a room full of attendees in white attire, in this setting they could exist in a colorful dream world that is all their own.
Once I had envisioned the direction for the production, it all came together very quickly. We had a preliminary meeting where I presented my ideas to the creative team and fellow board members. When everyone was on the same page, we recruited our models, designer, and vanity team and planned for a day in February. I immediately started on bringing all the background designs to life.
Although I’m confident in my abilities as a photographer, I wasn’t sure I could create the abstract designs without some kind of stock imagery or hours of editing in Adobe Photoshop. That’s where AI became an essential tool to this project. AI tools have become a popular resource to generate words, images and concepts without hours of manual work, CGI and composting. Some time ago, I saw Midjourney hit the internet in a really creative way and hadn’t yet found my own catalyst to play around with the tool. When this project fell into my lap it felt like the perfect opportunity to start experimenting with AI. I wanted to start exploring AI in a way that doesn’t replace what I do as a photographer but instead uses it as a tool to enhance what I do.
Midjourney is an AI artist platform, mainly used for graphic illustrations or vectors, although it’s starting to make its way into the commercial photography arena, mainly as projected backgrounds. You can create images from a prompt, using a combination of words depending on the desired outcome. It takes a lot of time to find the right words to build from your imagination. And I really loved the connection again between language and imagery. I loved the experimentation so much that by the end of day two on Midjourney I had created over 200 unique pieces of art.
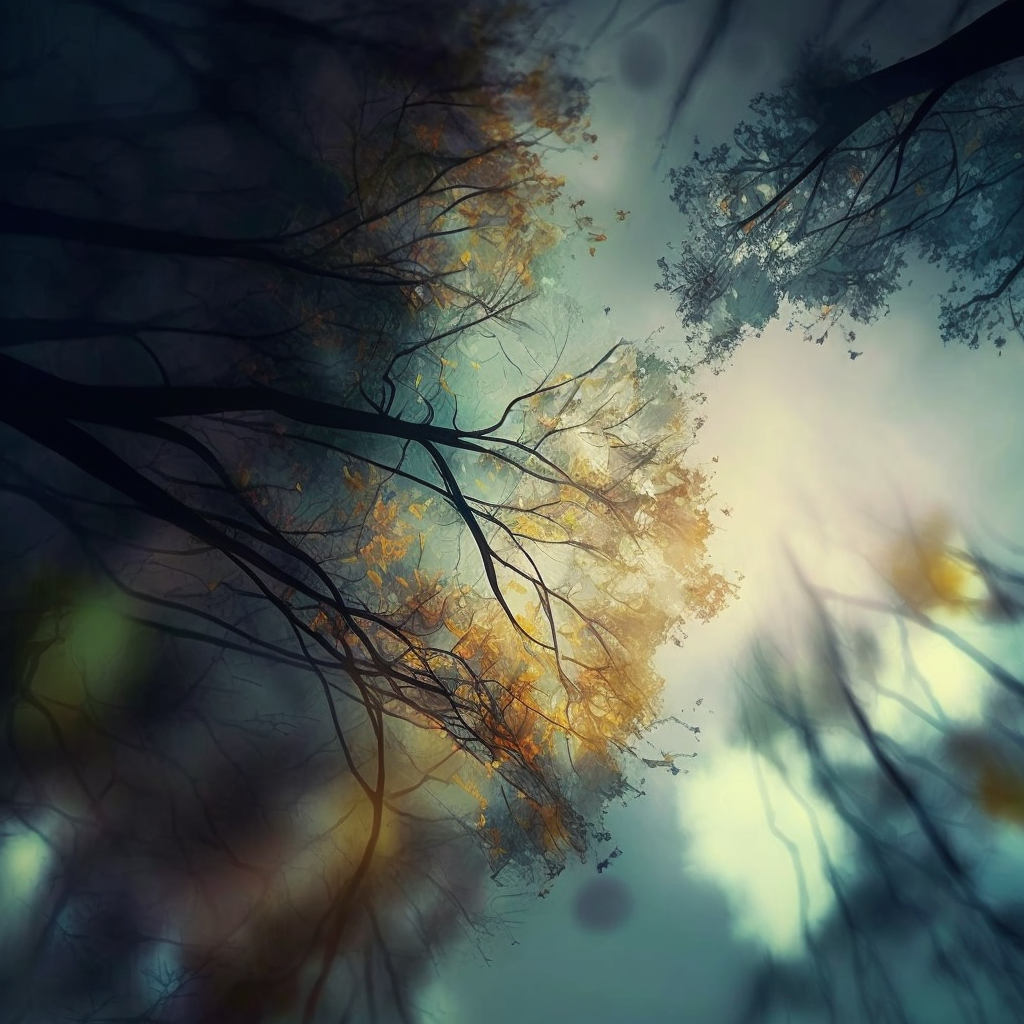
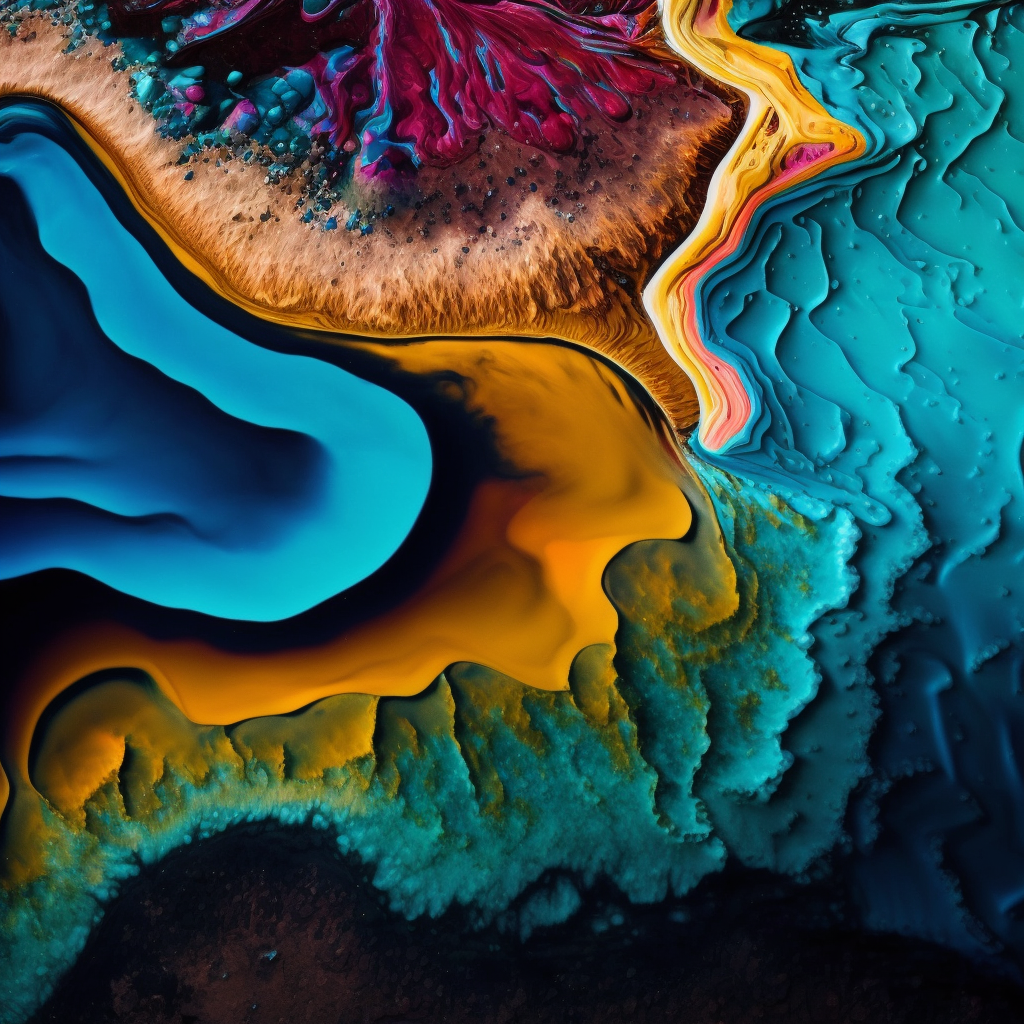
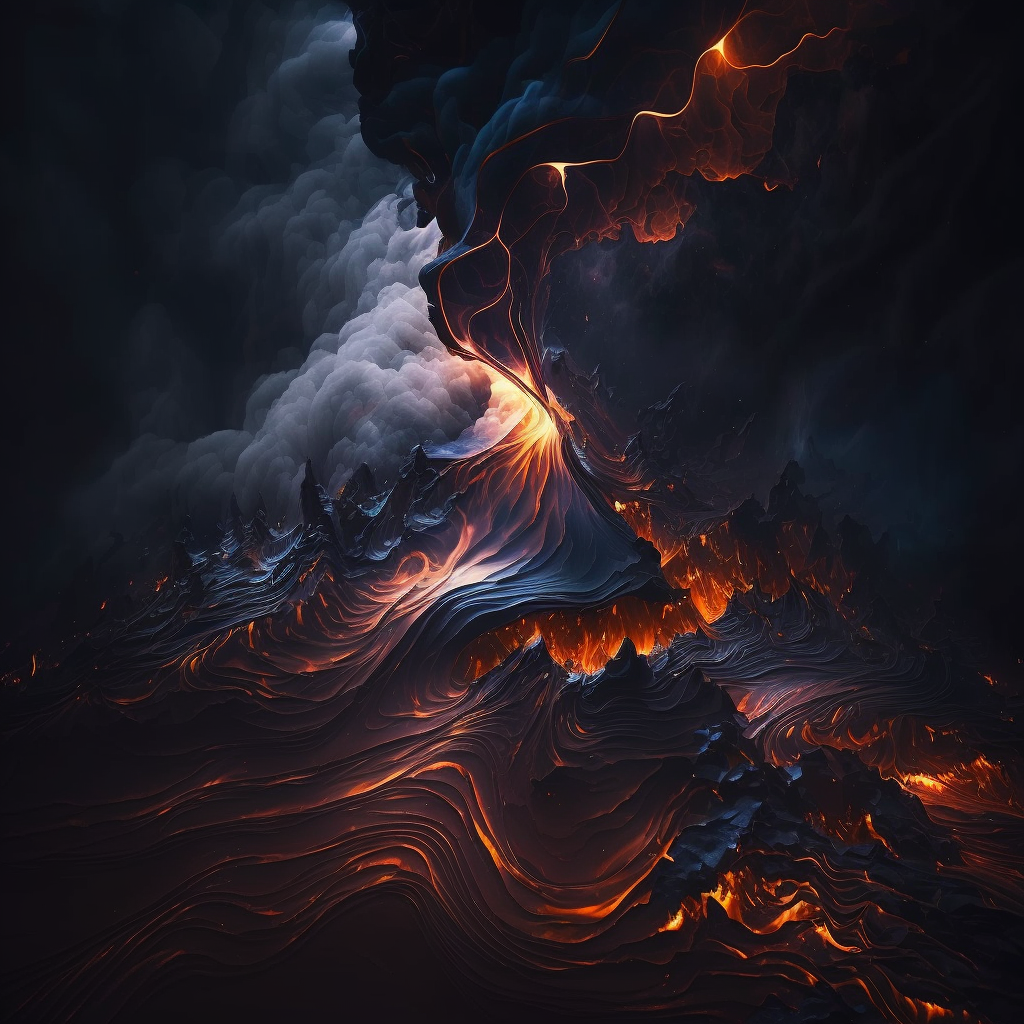
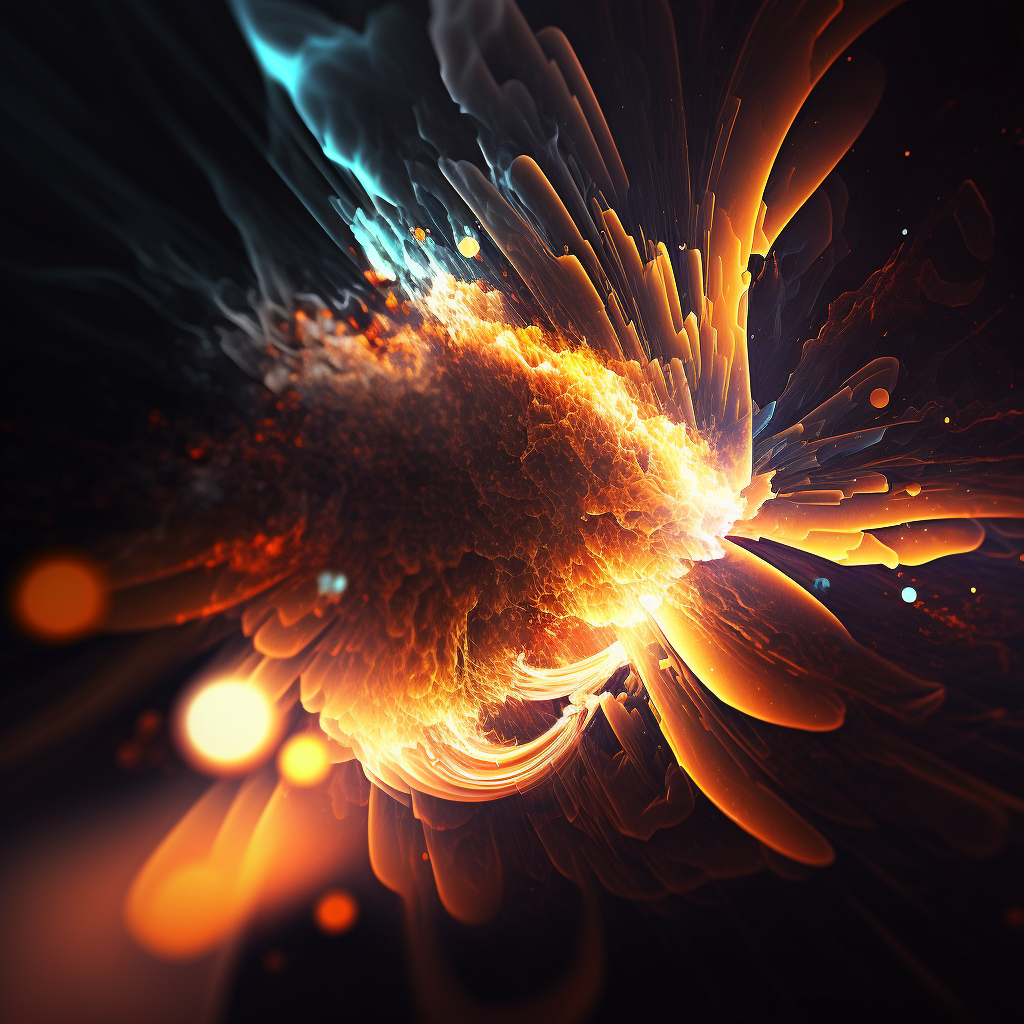
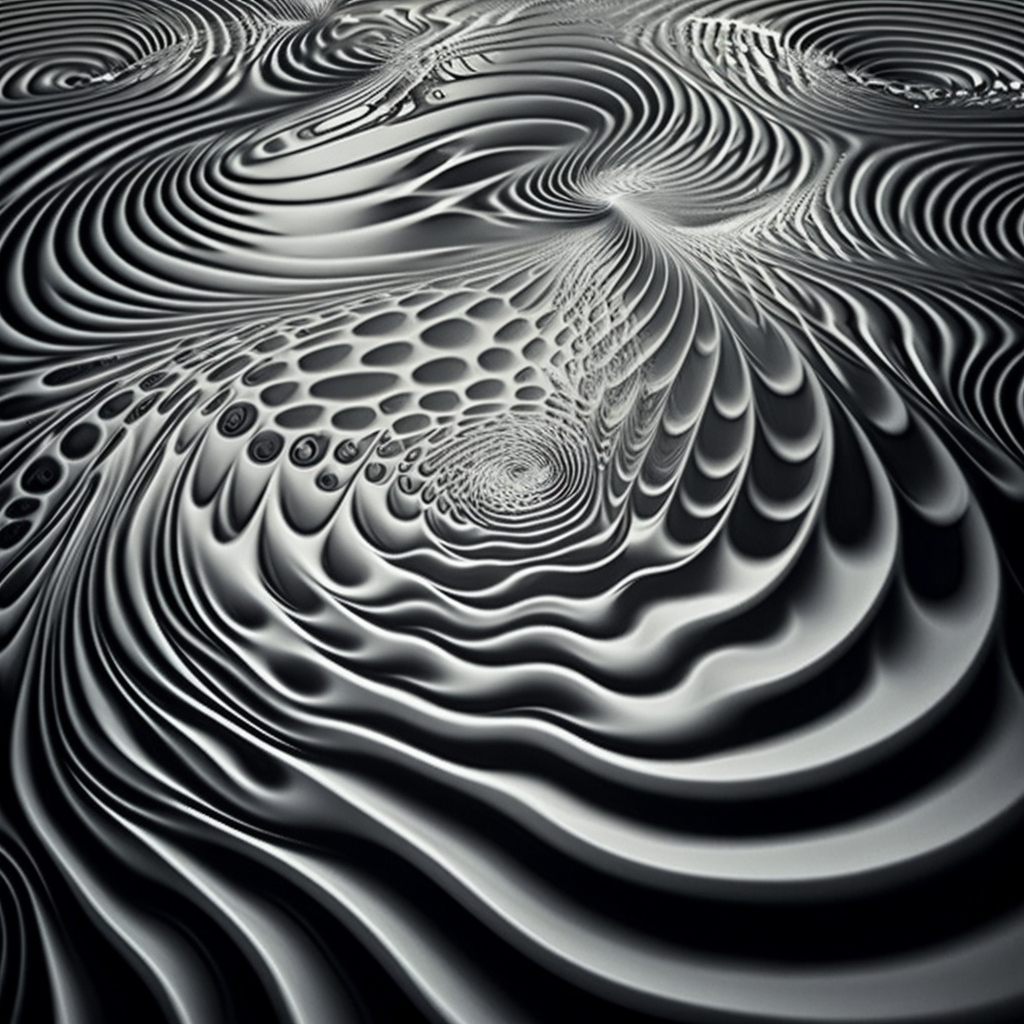
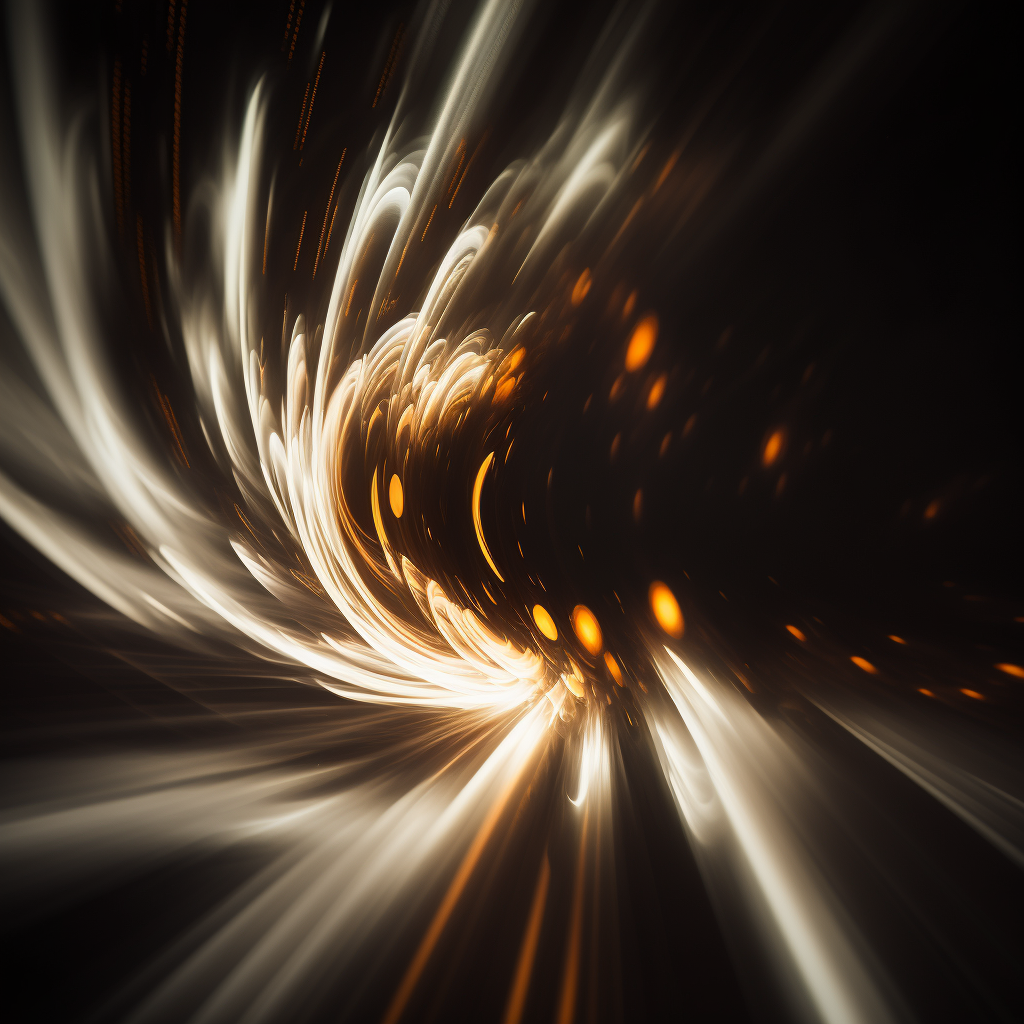
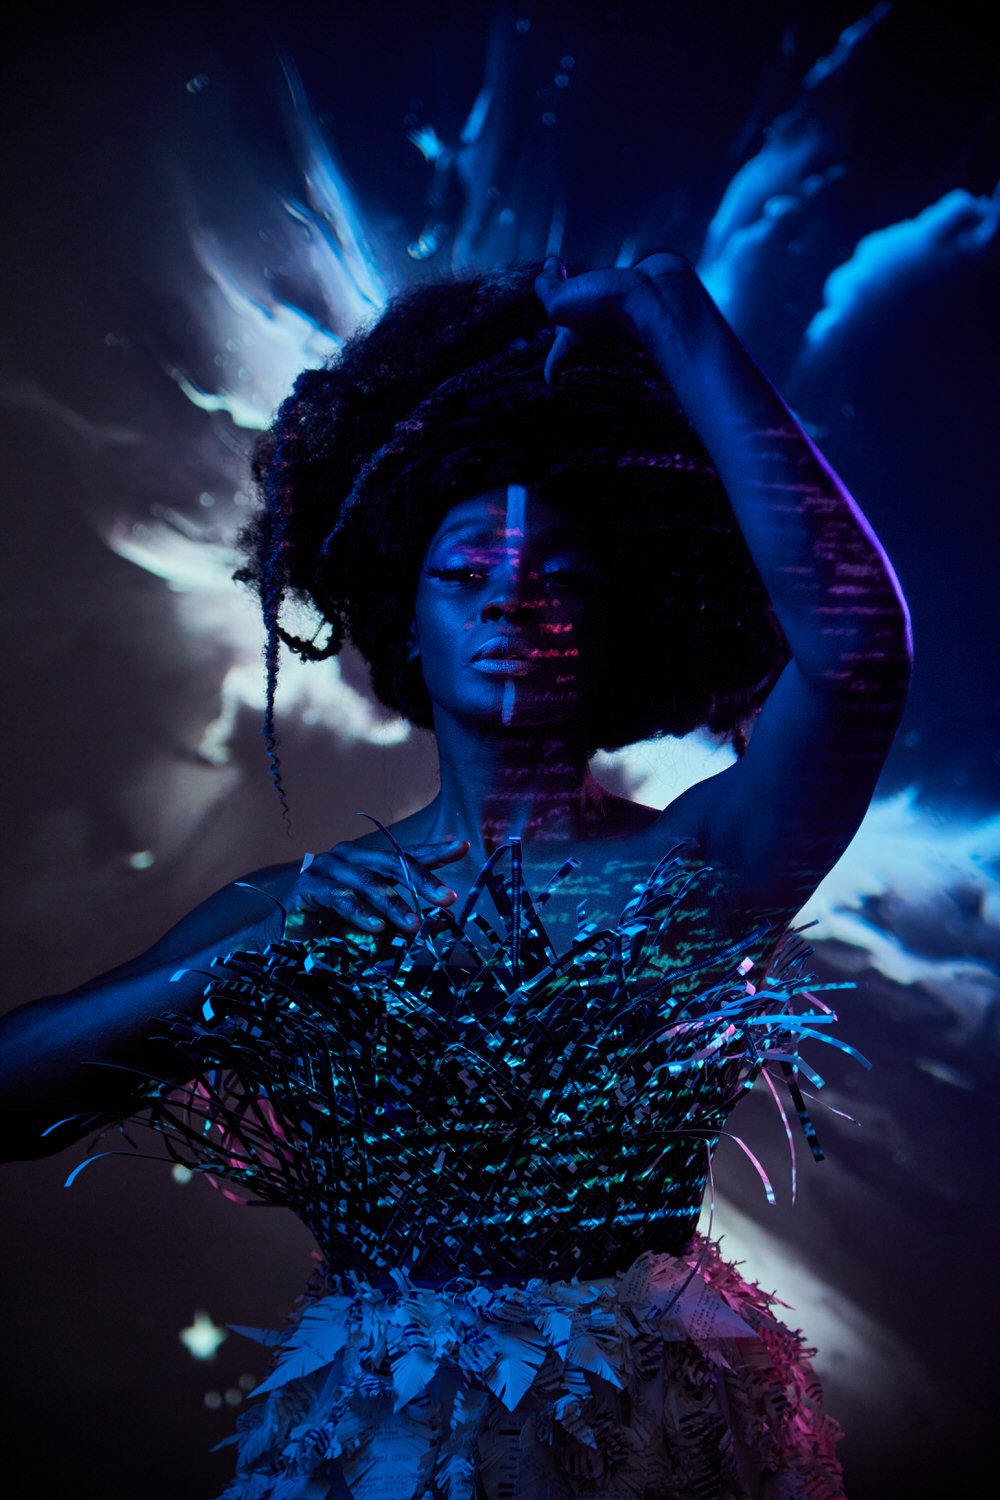
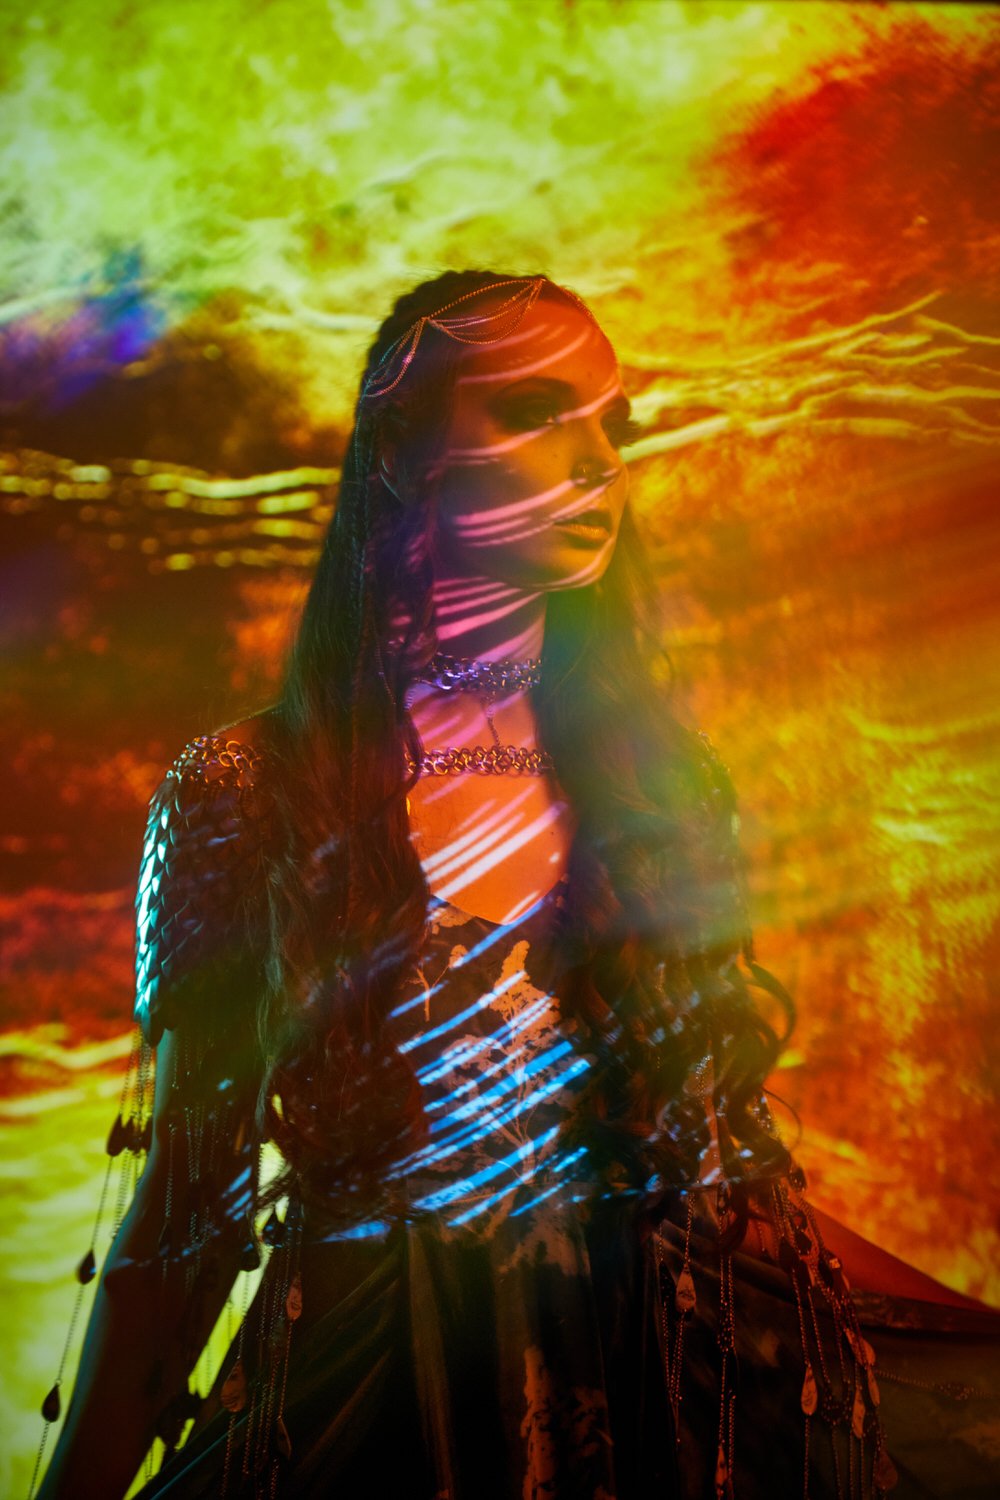
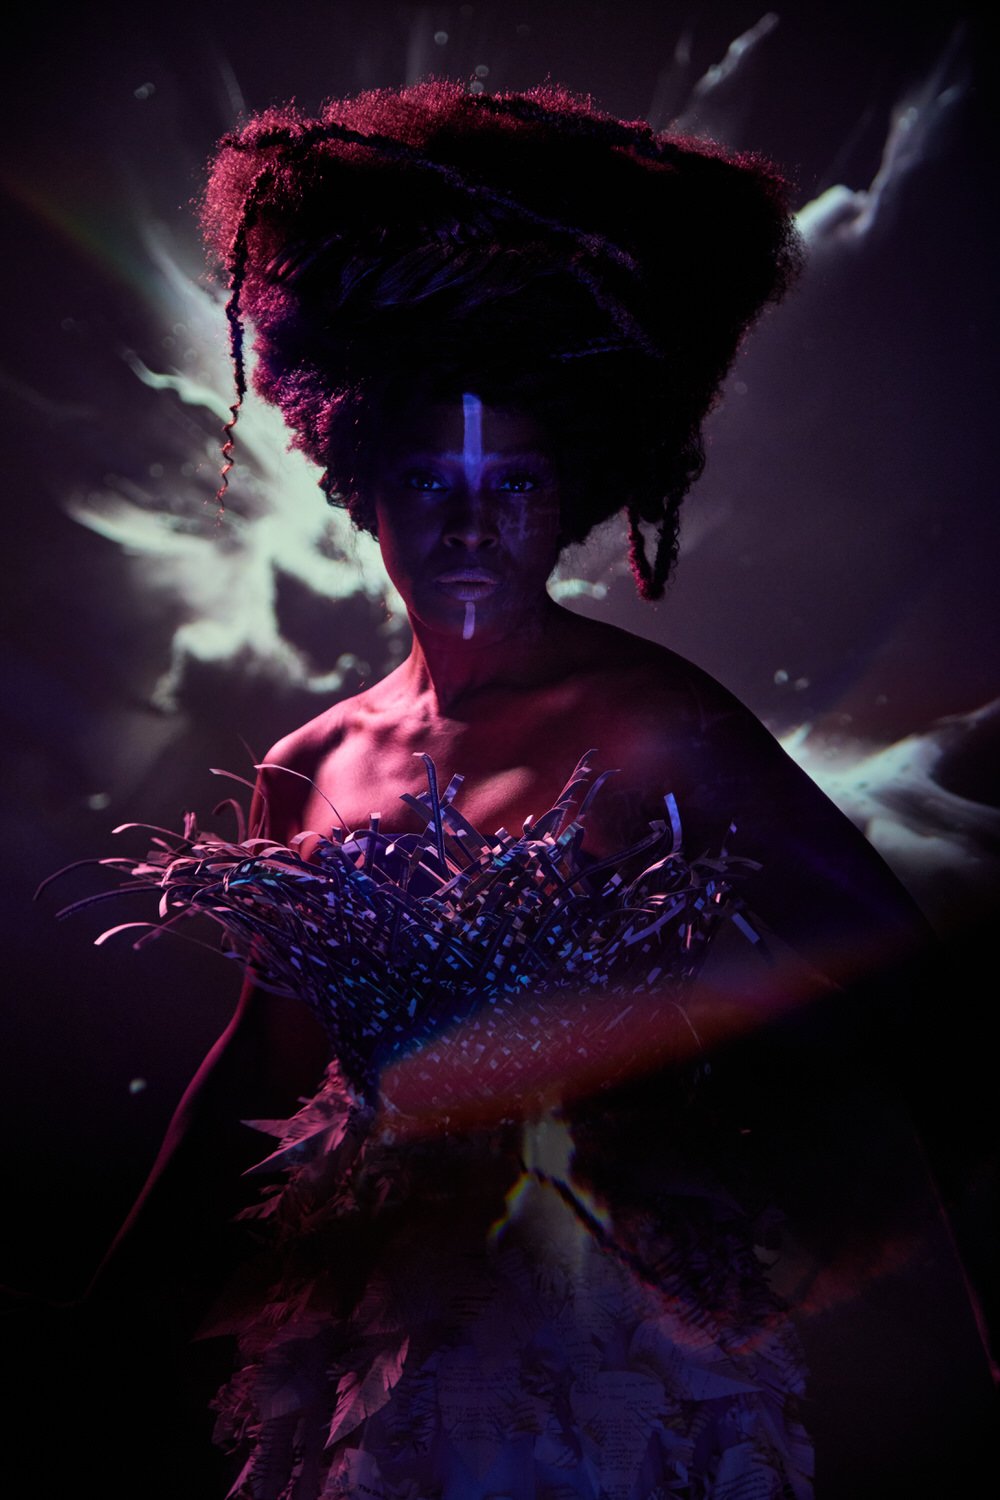
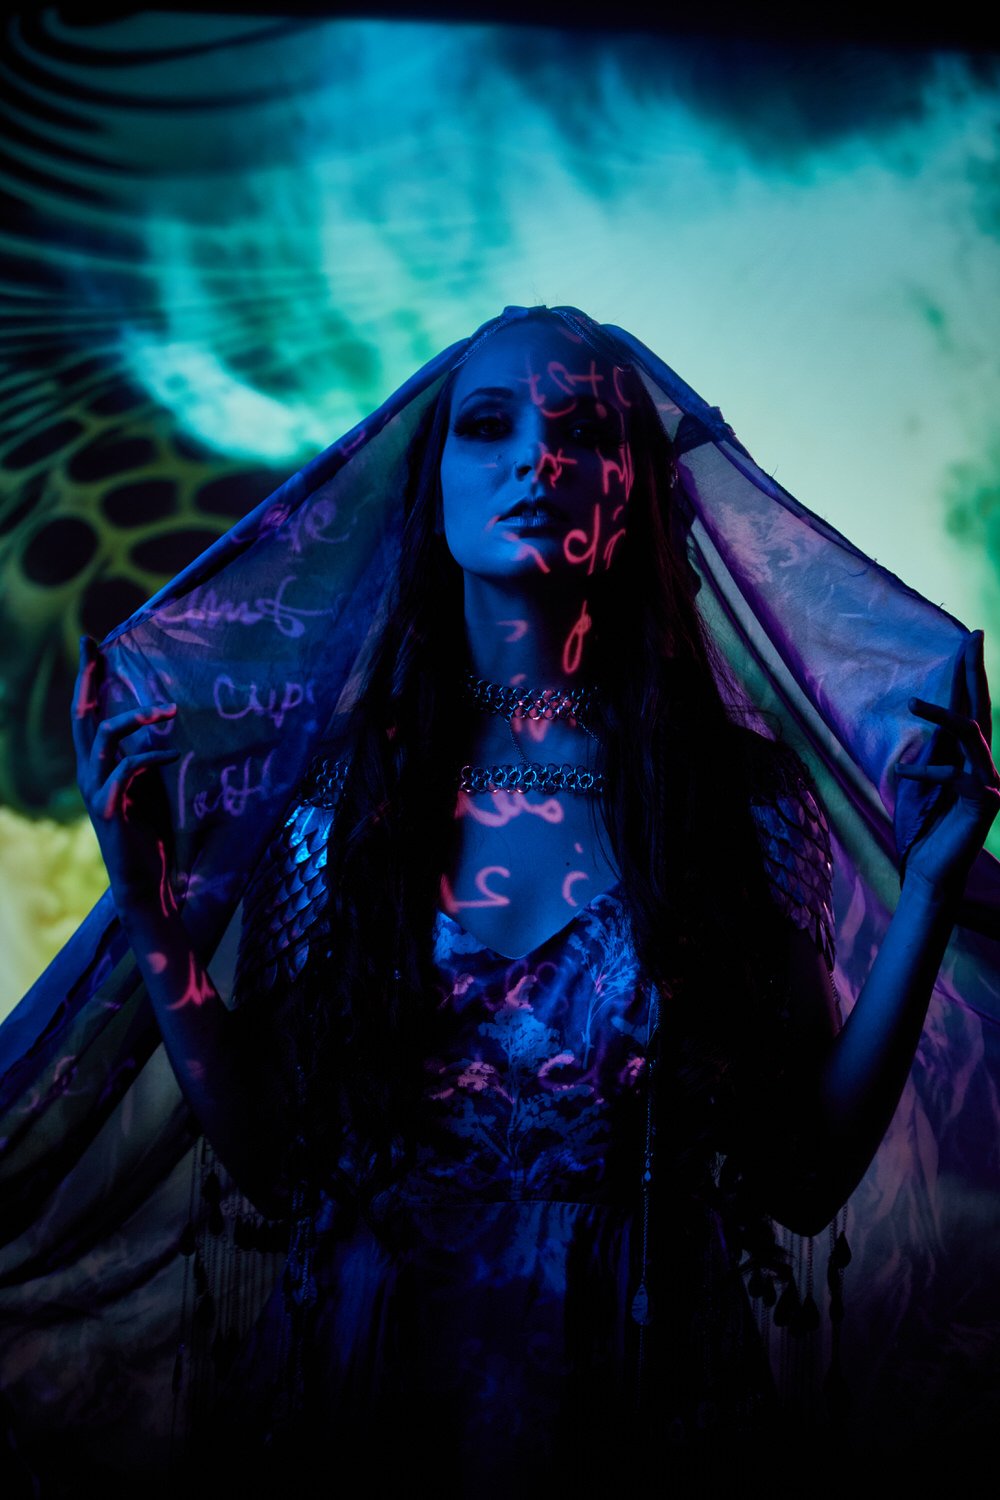
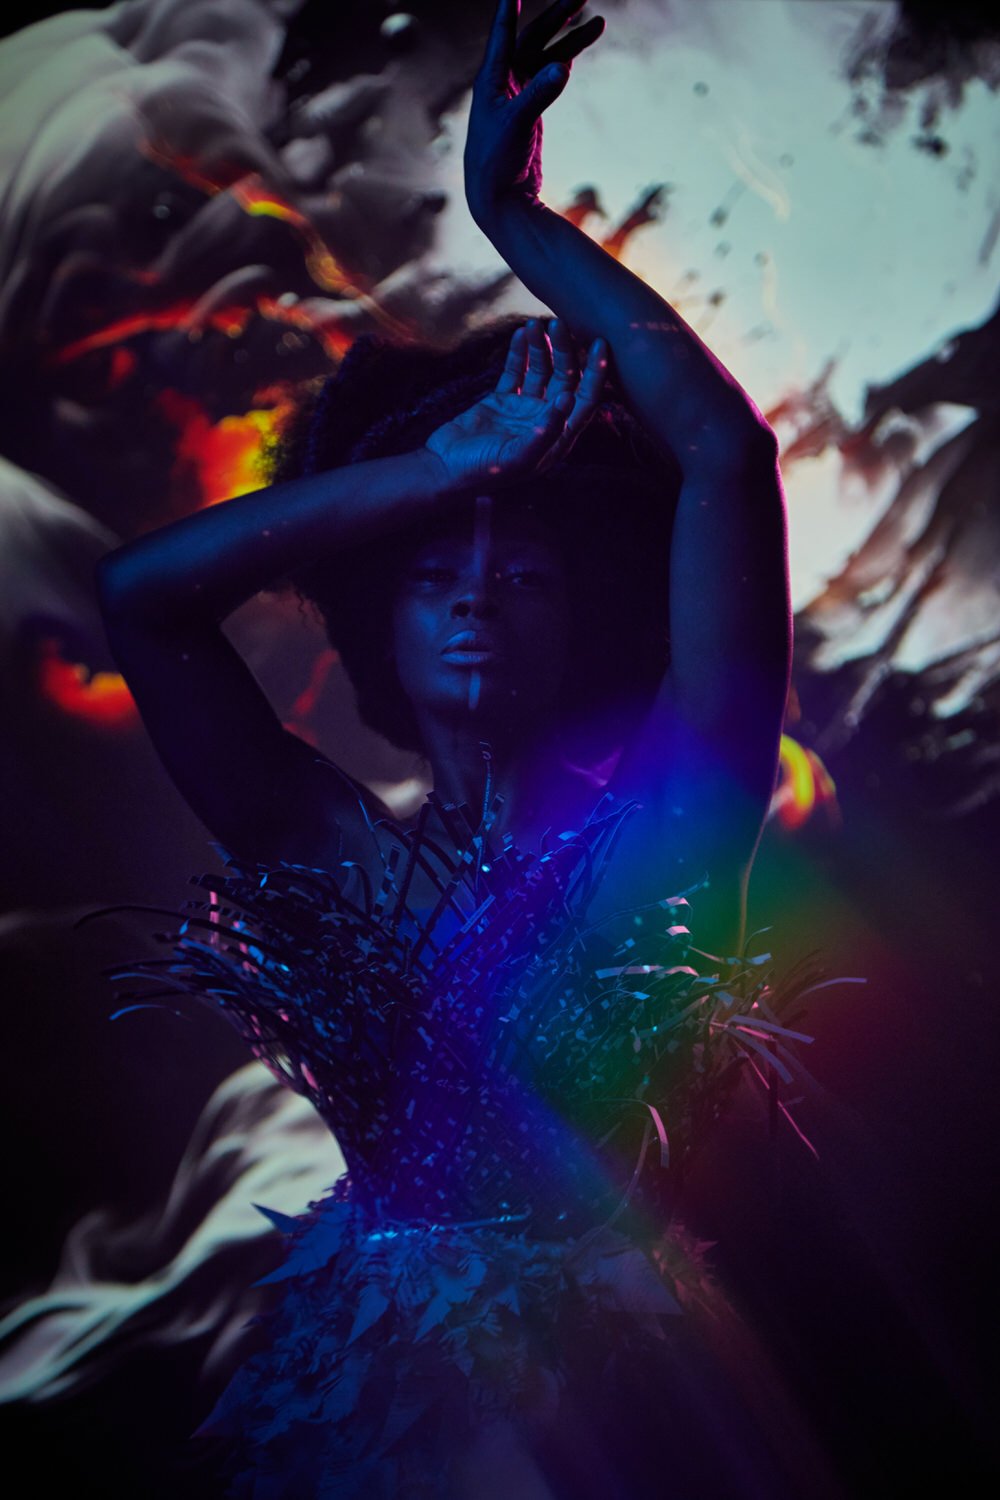
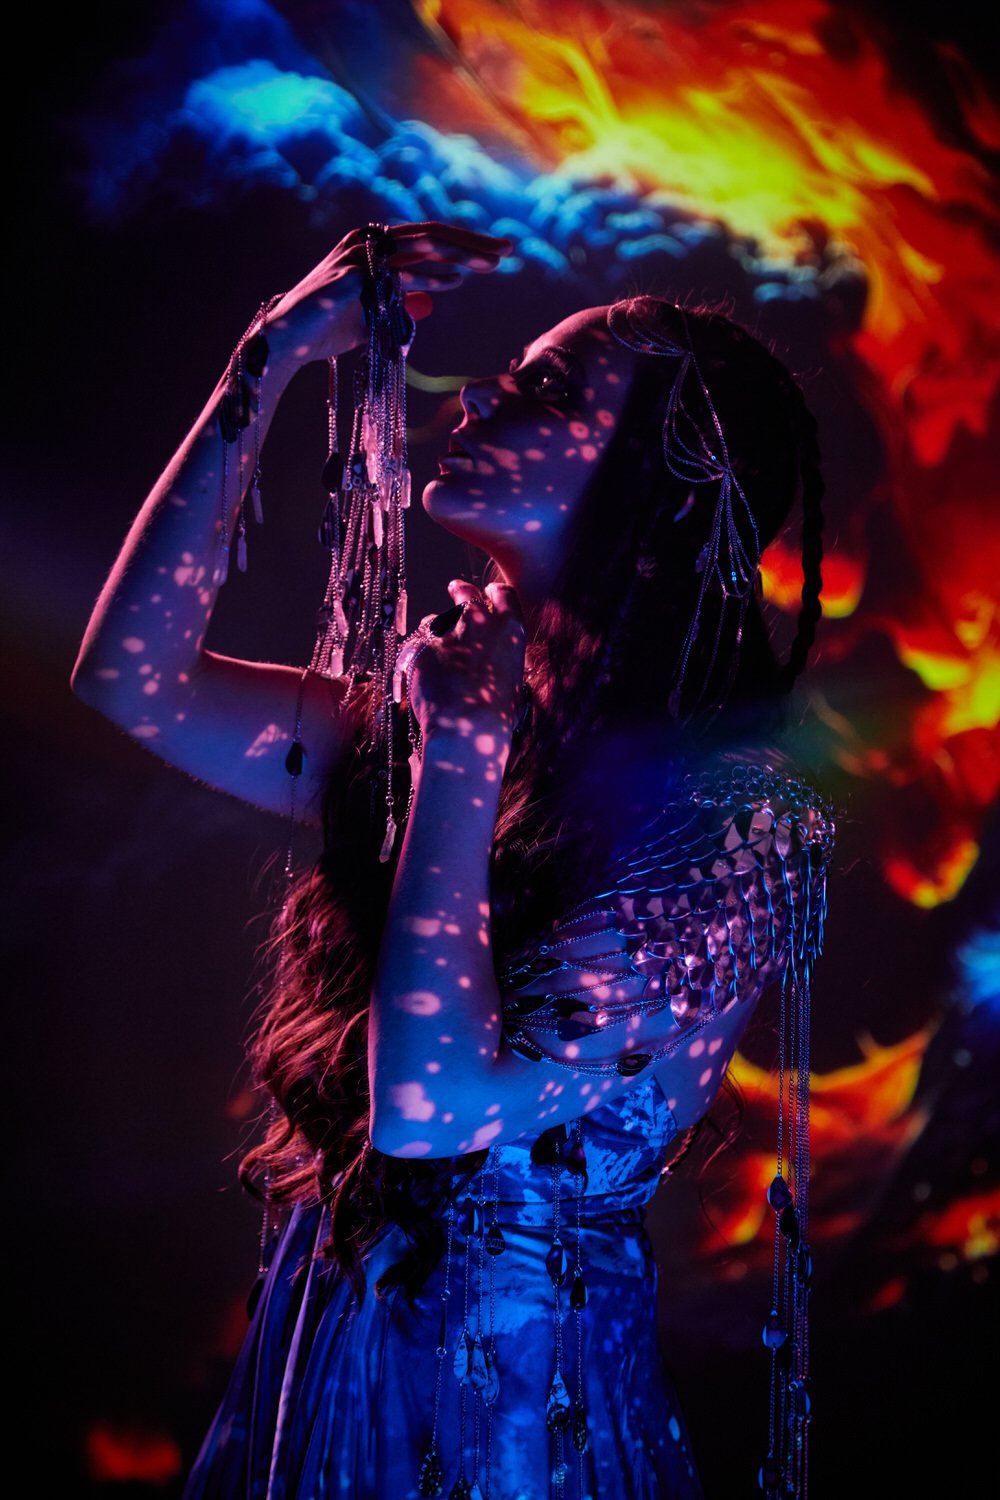
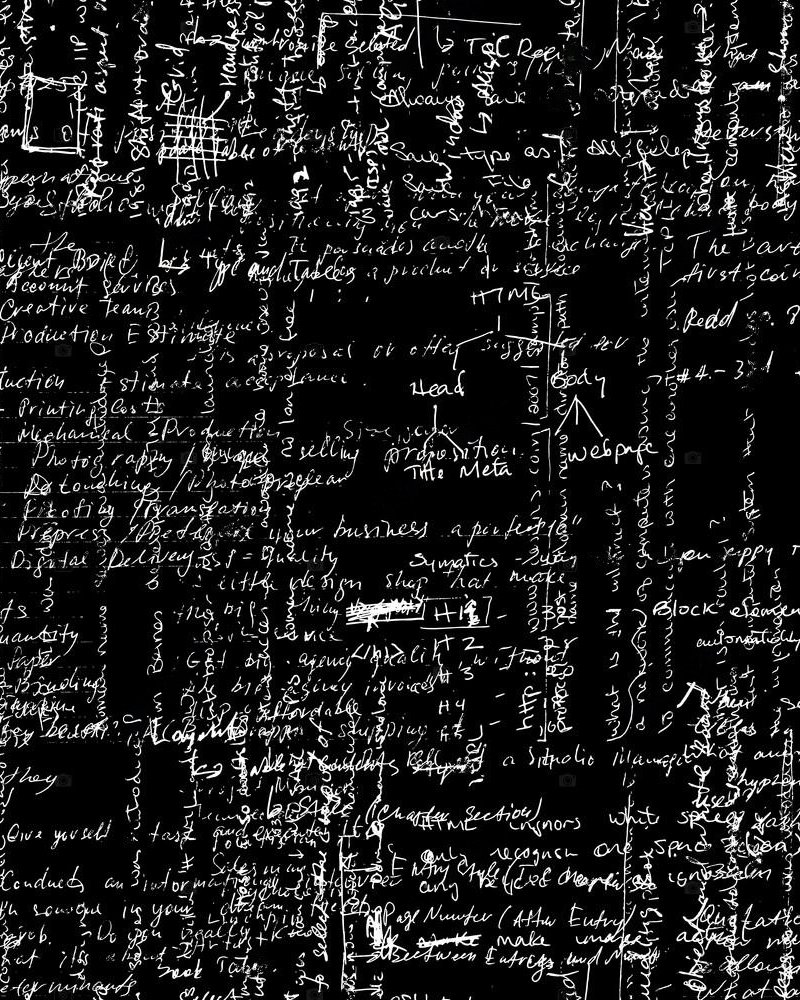
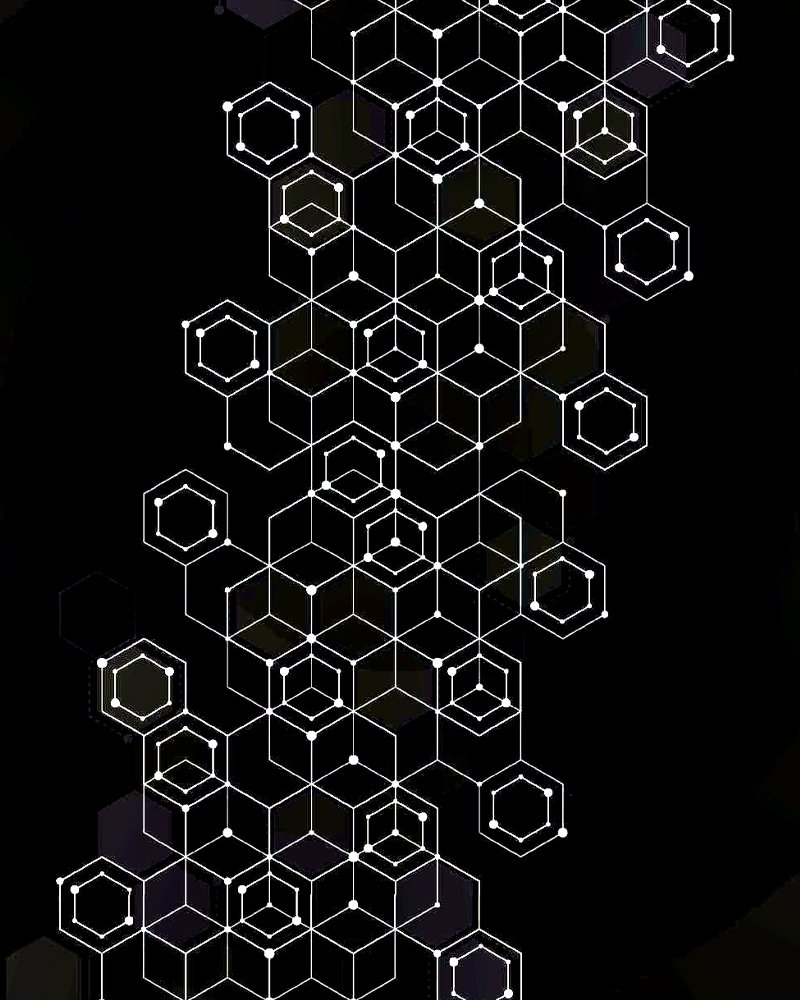
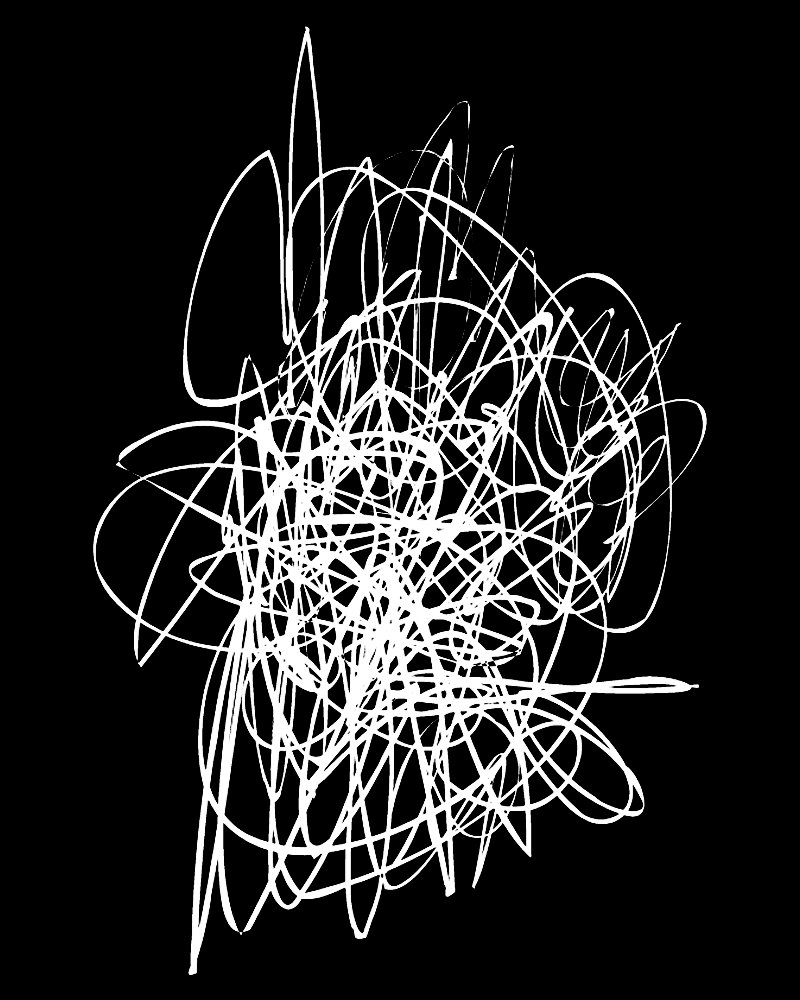
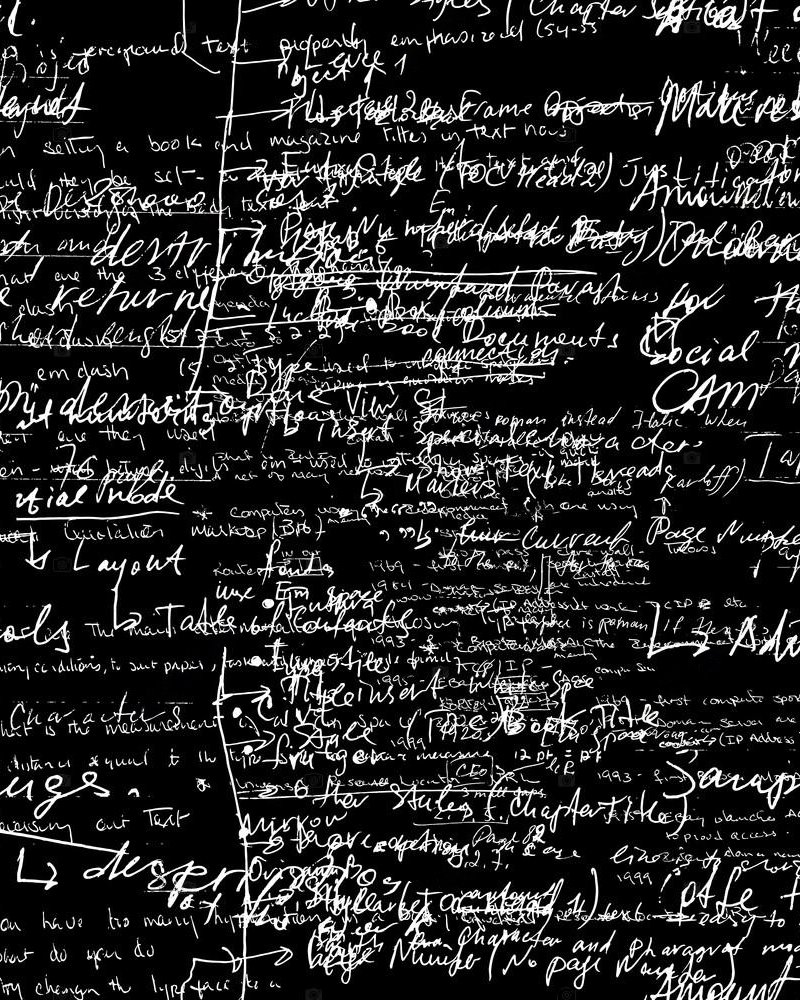
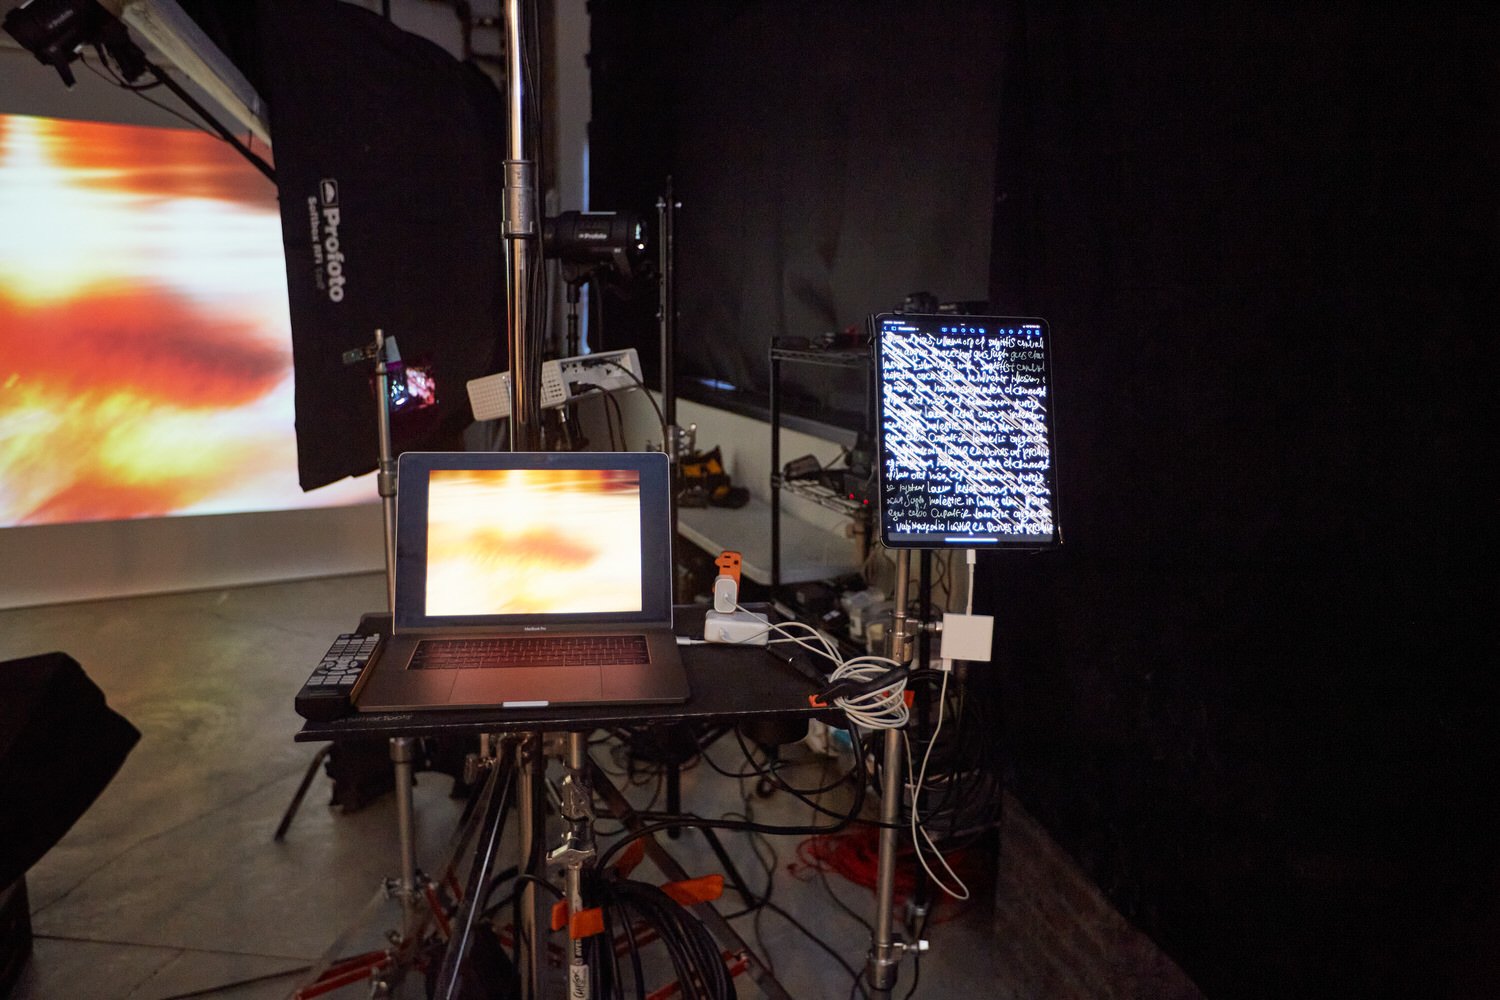
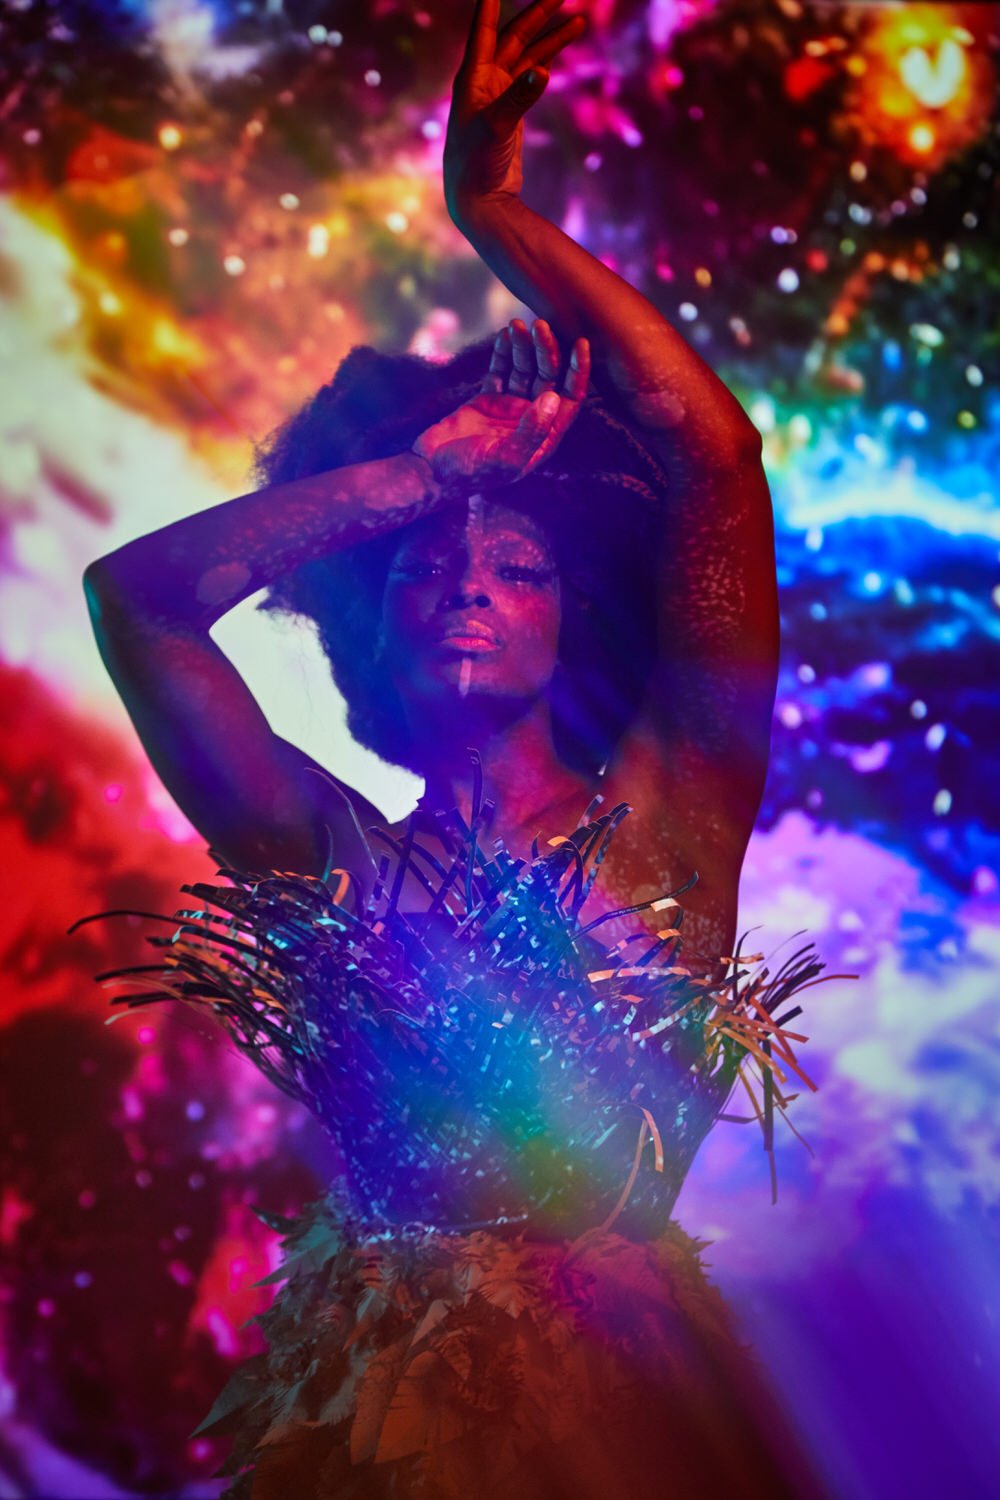
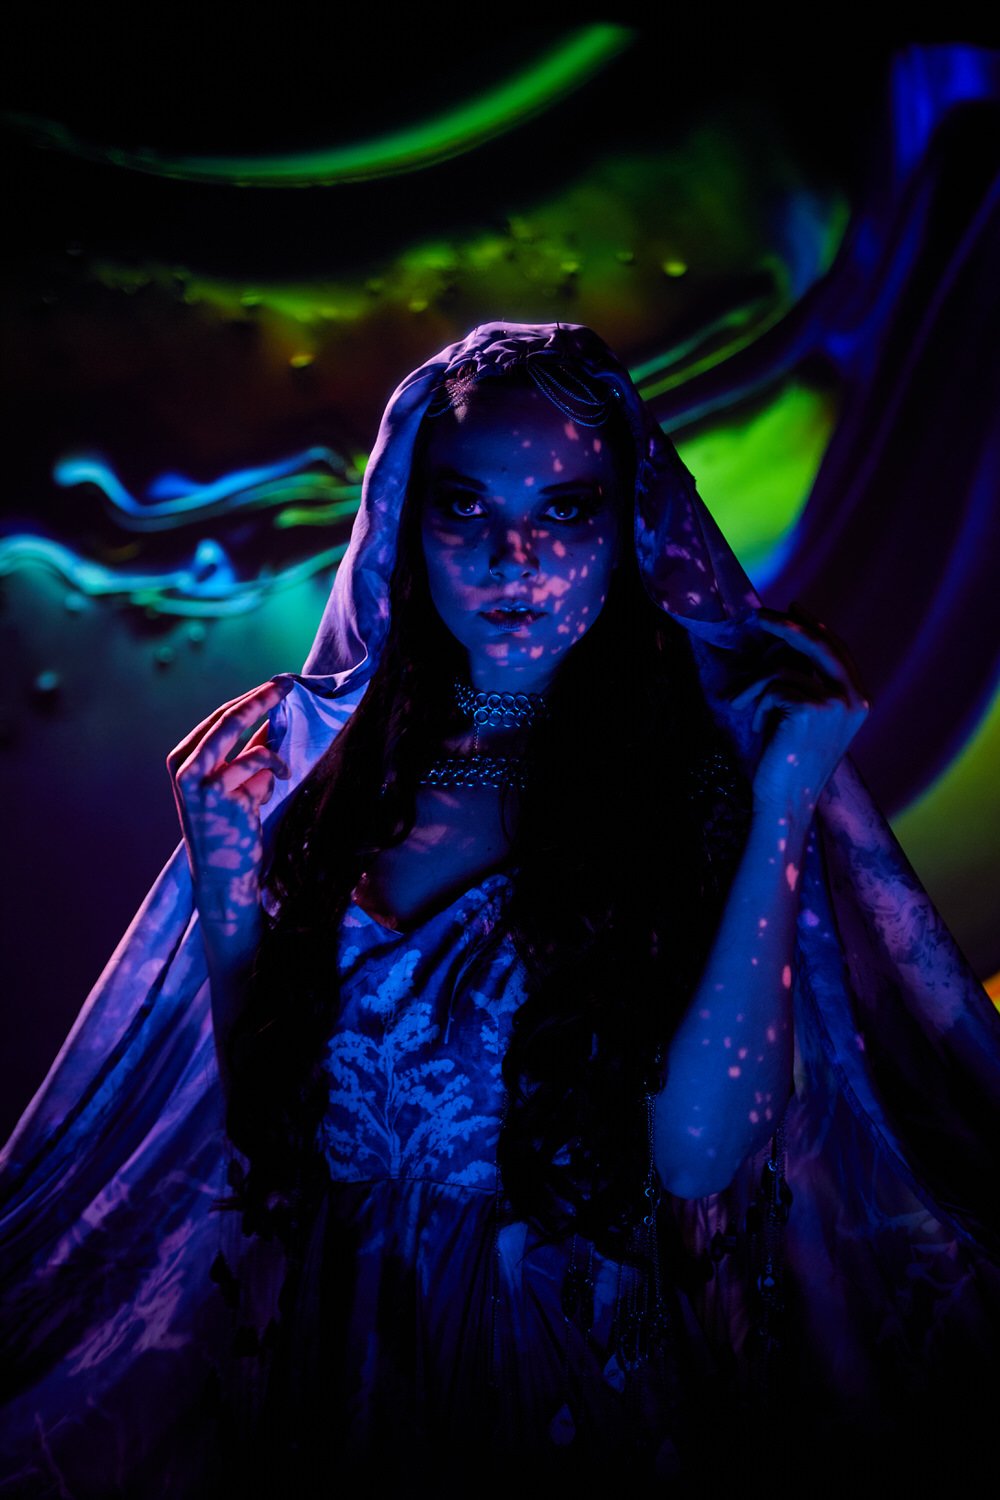
I ended up with a combination of specific words and feeling words to prompt Midjourney, such as: abstract, dye, delta, water, fuzz, blur, sparks, embers, motions, universe, space, distressed, dark, sky, cloud, moody, explosions, etc. What you see in the result is an explosion of color, light, and space, blended in a way that I would never be able to create on my own. And yet with a simple prompt and a complex tool I could bring these abstract visions to life. But the experimentation with Midjourney didn’t stop there, because I also wanted to project graphics onto the face and body of the model. These would take the form of letters, shapes, scratches, scribbles and lines, and would play into the fashion shows inspiration from literature. The tool once again provided me with the graphics I wanted, and I spent less time scouring the internet for the perfect font or design myself.
Between the two ideas we had hundreds of images to choose from, and thousands of possible combinations. That was the idea; every time I snapped the shutter, the background rotated, so each image had a unique background and foreground. In addition, using some outdated and discontinued photography technology, I could have different lighting patterns on the model and rotate between them as well for another layer of possible combination of images.
Which is how I came across the Pocket Wizard Multi Max, and a specific setting called the Speed Cycler. Originally designed for sports photographers to fire continuous flashes during dark arena settings. A long time ago, I had seen a friend of mine use the Multi Max to create two distinct light setups that fire congruently in a short shutter burst and wanted to experiment with the tool. It was a bit hard to track down as the product has been discontinued, but I managed to find a used Multi Max on eBay, and we were ready to set up these elements in my studio.
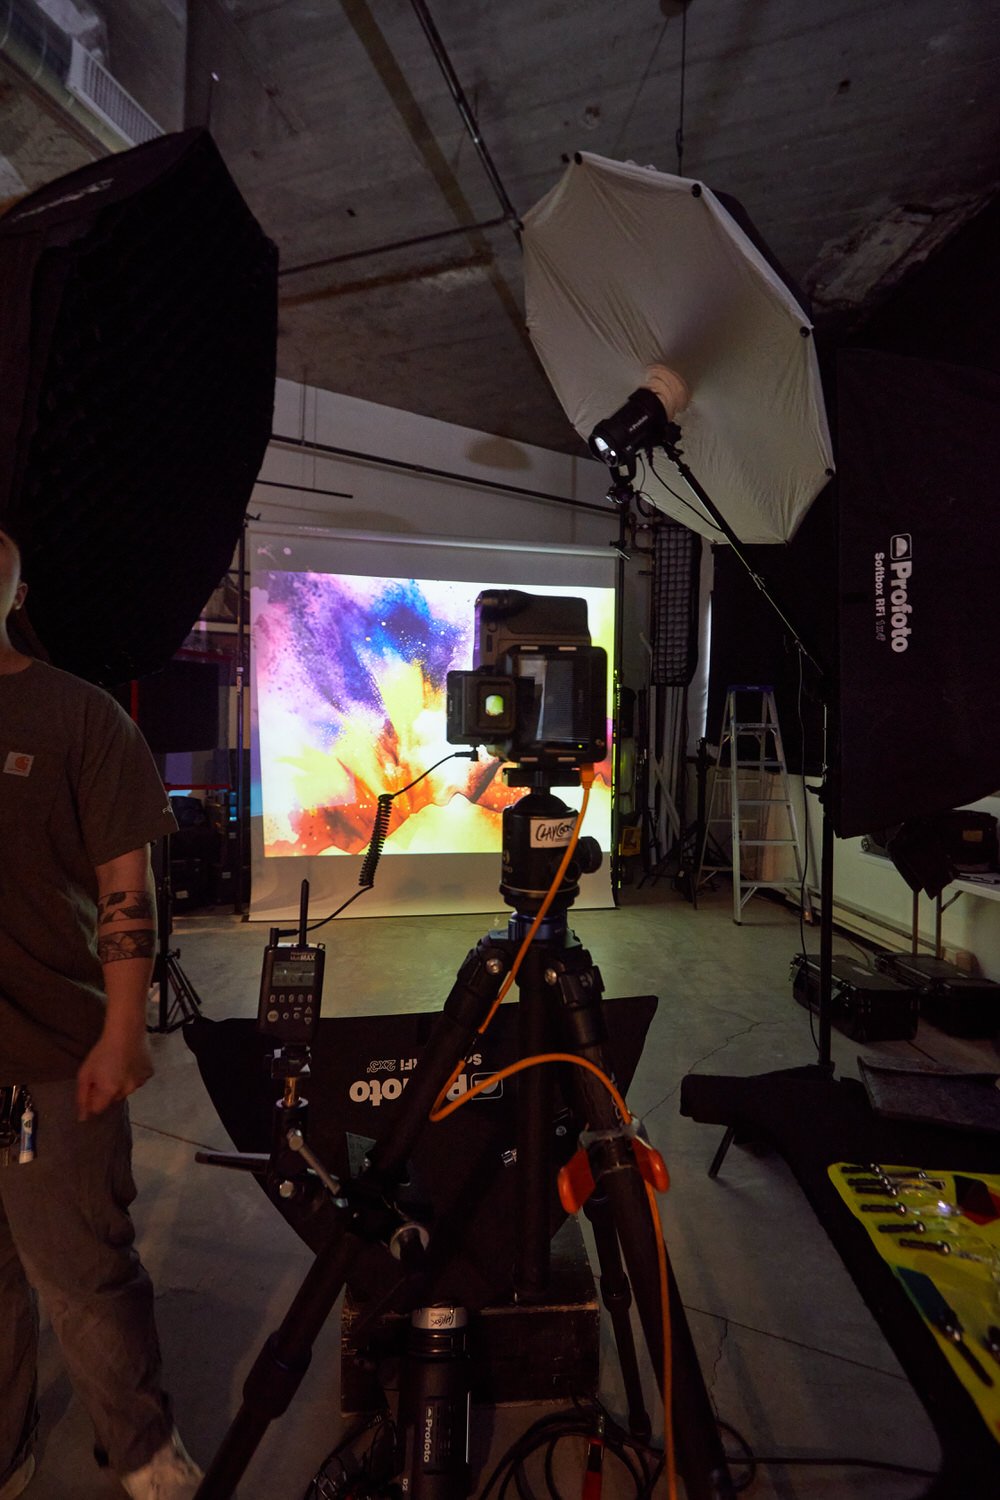
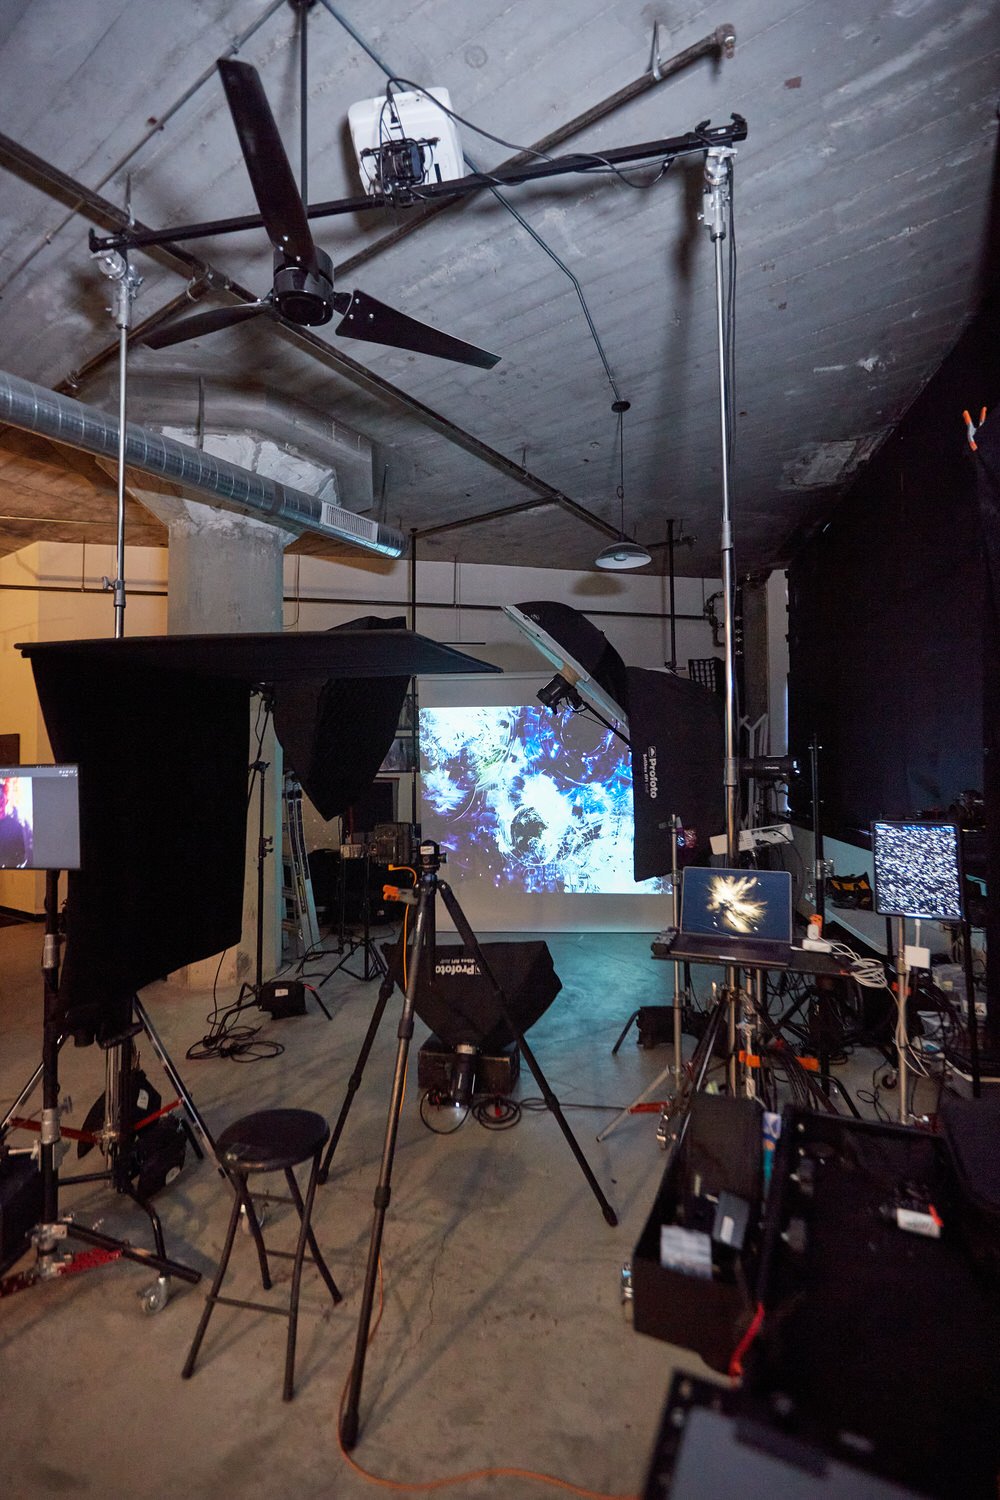
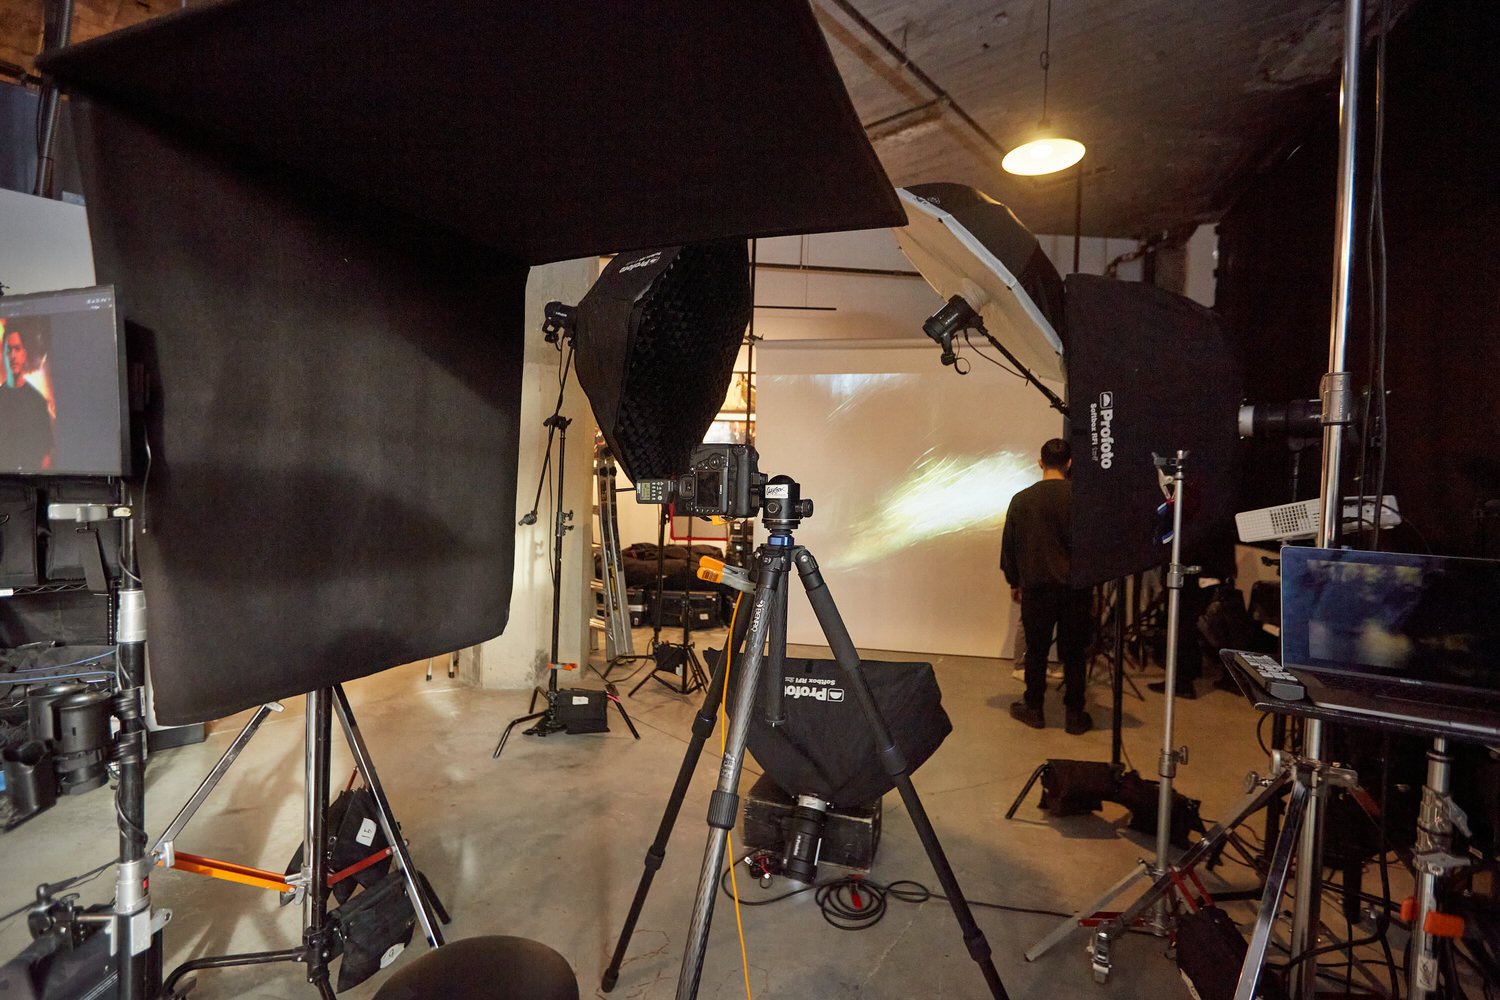
The week of the production arrived and I had everything in my arsenal prepared to create this abstract set design. The pre-production process was extensive from a technical standpoint. We had to blackout the entire studio with paper so that we could better control the projector brightness and lighting. This ended up taking a lot of time since I have large windows in my studio. Once we had that finished it was time to figure out the multiple(4) light zones that the Multi Max could continuously cycle through as held down the shutter.
With this type of process, it’s almost impossible to intuitively place lighting and just snap a picture. It’s much more of experimentation in which a subtle change can make all the difference. So, the first day we worked on the kinks of lighting, placement, projection, and overall logistics of the setup. We had problems with shadows from the projection, we had problems with lighting, and we had problems with the overall setup. It’s one of those moments where you wonder if you can truly bring your vision to life or if you have to compromise with some detail. I left the studio that very first day pretty unsatisfied, nothing was clicking in like I had hoped and I needed a good night sleep to think about how we’d tackle these problems in the next day.


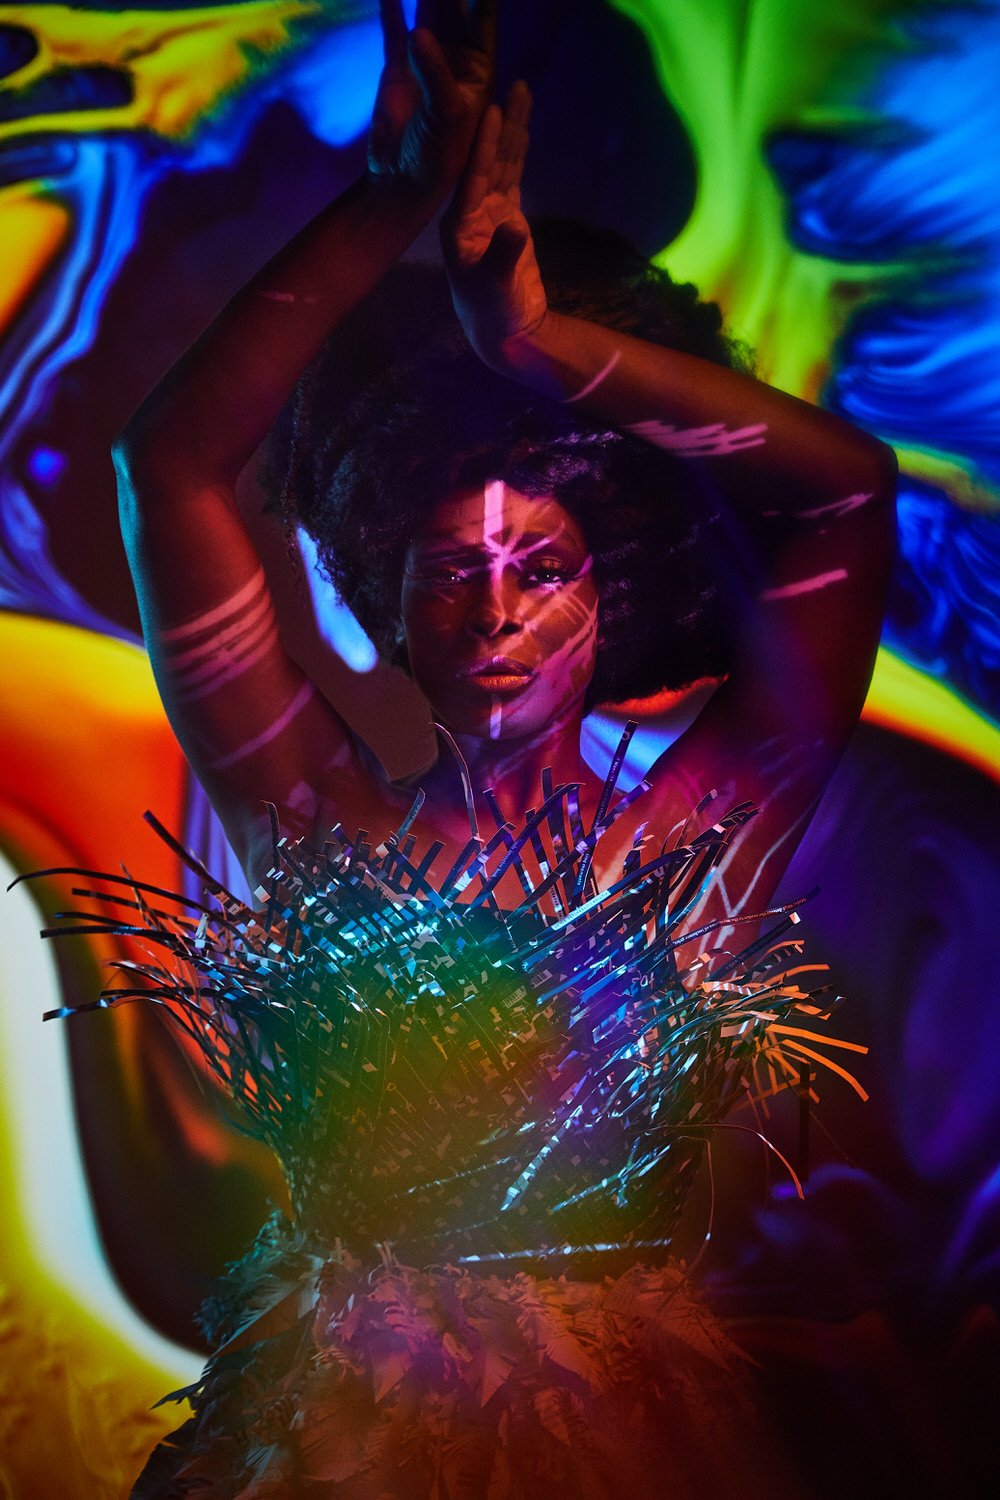
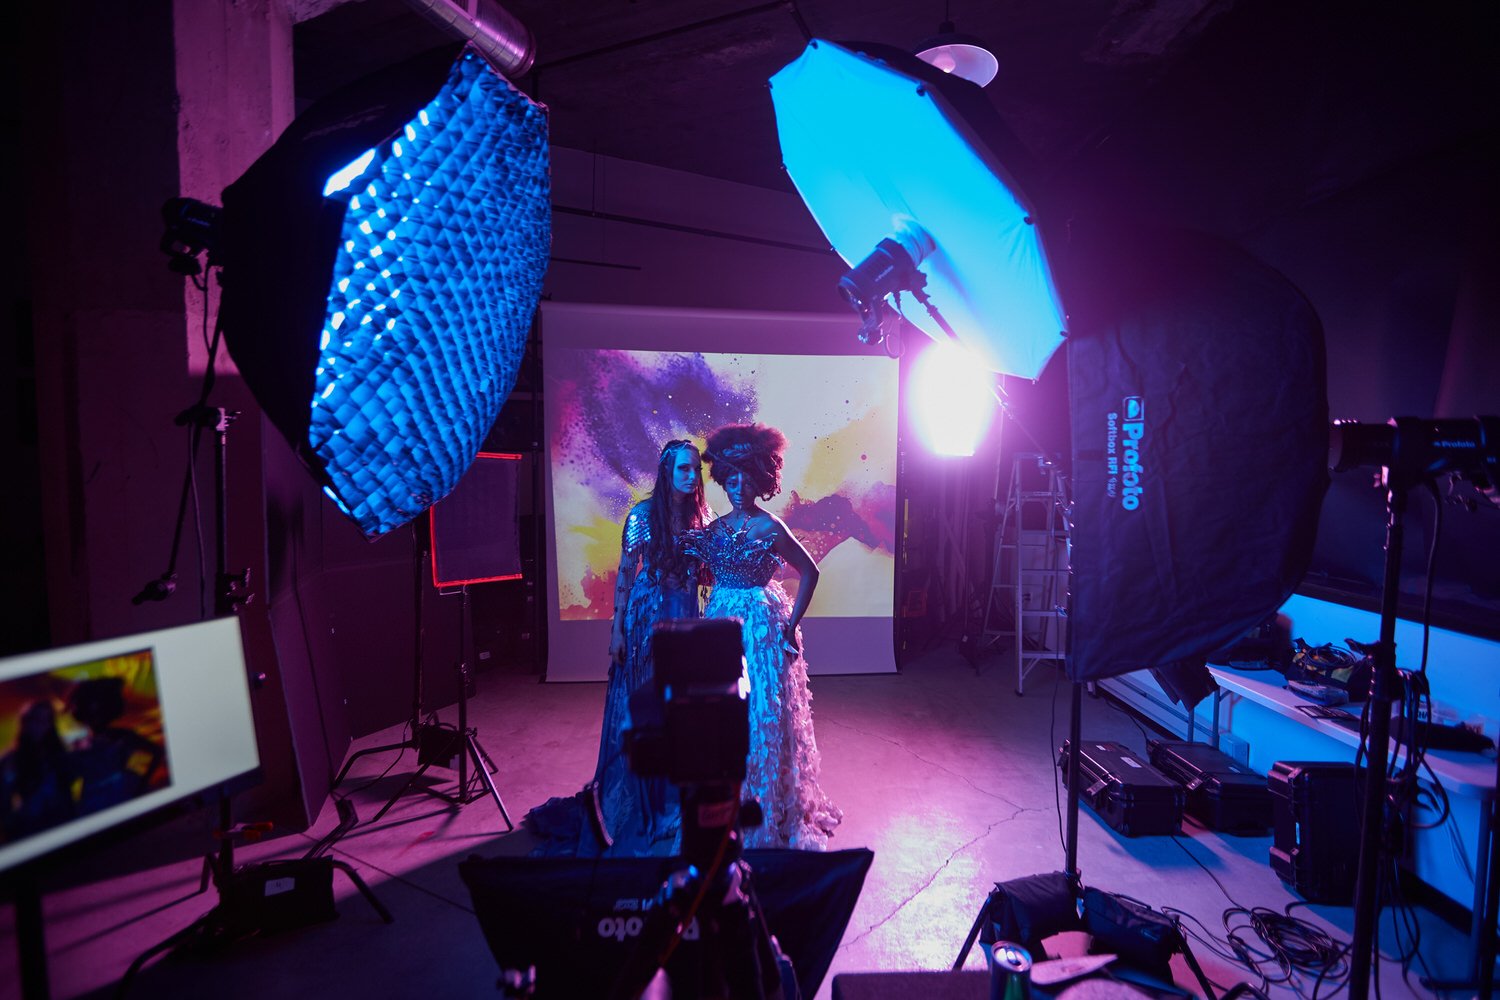
Our second say was simply testing, working with the projection imagery, playing with colored lighting, and experimenting with speeds and different filters. Once we changed the color of the lighting to red, orange, blue and green and changed the placement of lighting in very unique positions; that is where the entire production started to come together for me. The look of the photography went from a very flat, over lit sequence to a wildly colorful and contrasting sequence. I’ll never forget that feeling when we stumbled upon something that actually worked. After two days of testing and hundreds of test images, we finally landed on an arrangement that was in line with my vision.
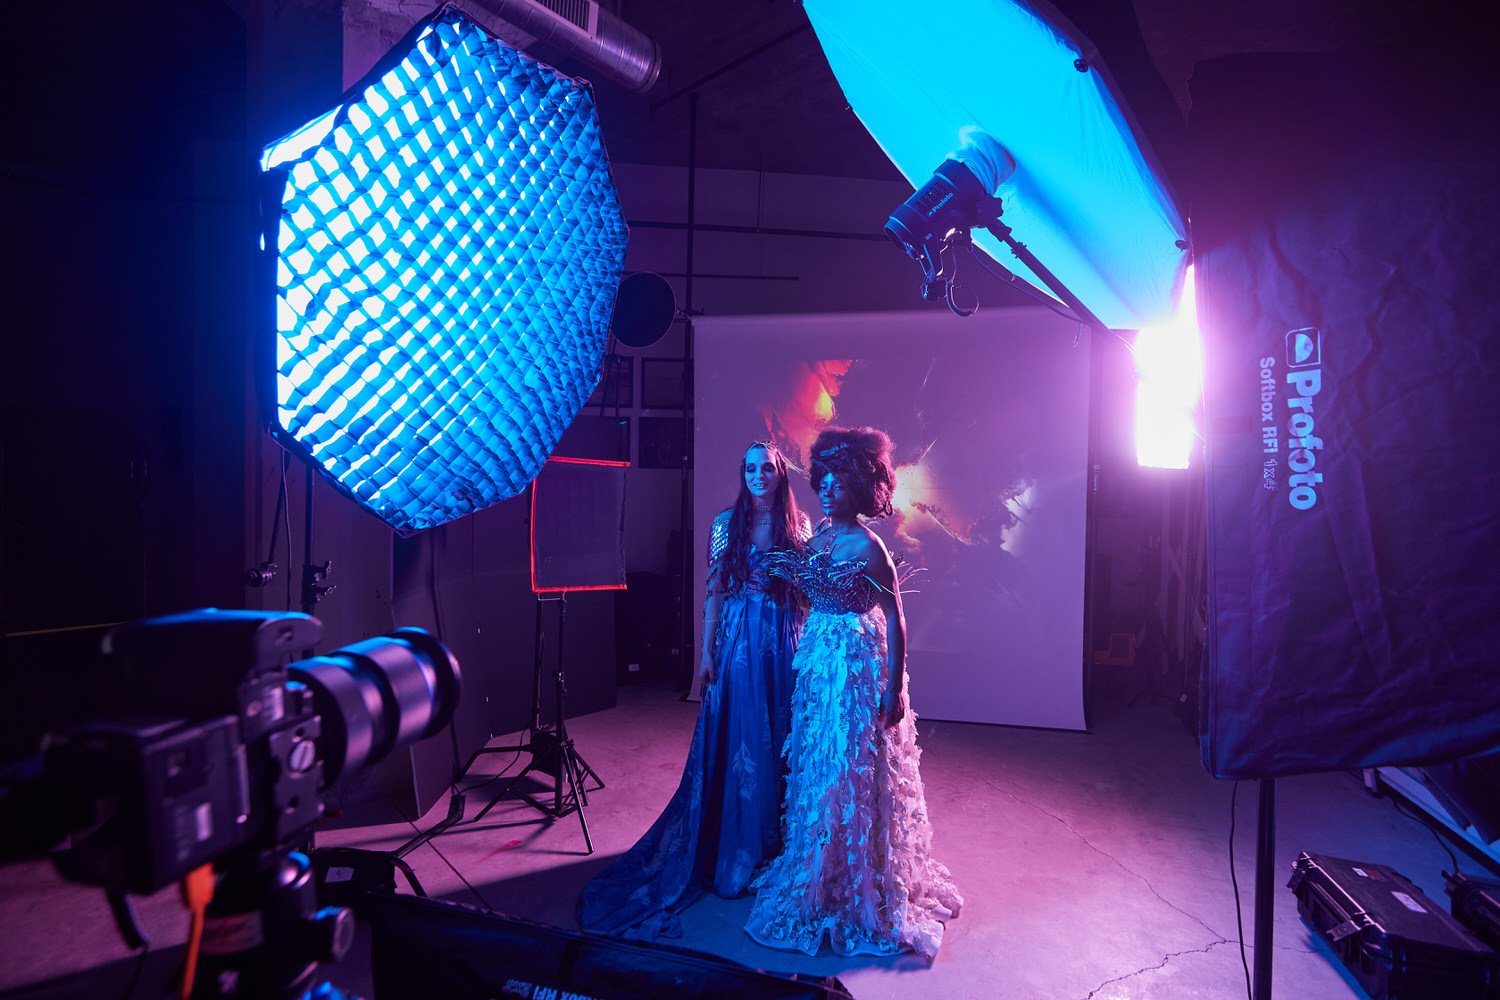
Let’s get technical. Using the Multi Max, we set up 4 different lighting zones, all distinctly their own.
Zone 1: The key light was a Profoto D1 modified with Profoto 20.5” White Softlight Beauty Dish with a 25º Honeycomb Grid colored with a Rosco pink gel place camera left 6 feet behind the model. Although it acted like a kick, it was the brightest source of light. The fill light was a low-key Profoto D2 modified with a Profoto 2x3' RFi Softbox, placed underneath the model colored with a Rosco blue gel.
Zone 2: The key light was a Profoto D2 modified with Profoto 1x4' RFi Stripbox colored with a Rosco red gel. The fill light was a low-key Profoto D2 modified with a Profoto 2x3' RFi Softbox, placed underneath the model colored with a Rosco blue gel.
Zone 3: The key light was a Profoto D2 modified with Profoto 5' RFi Octabox with a Honeycomb Grid colored with a Rosco blue gel. The kick light was a Profoto D2 modified with a Profoto 1x4' RFi Stripbox, placed camera right 6 feet behind the model colored with a Rosco pink gel.
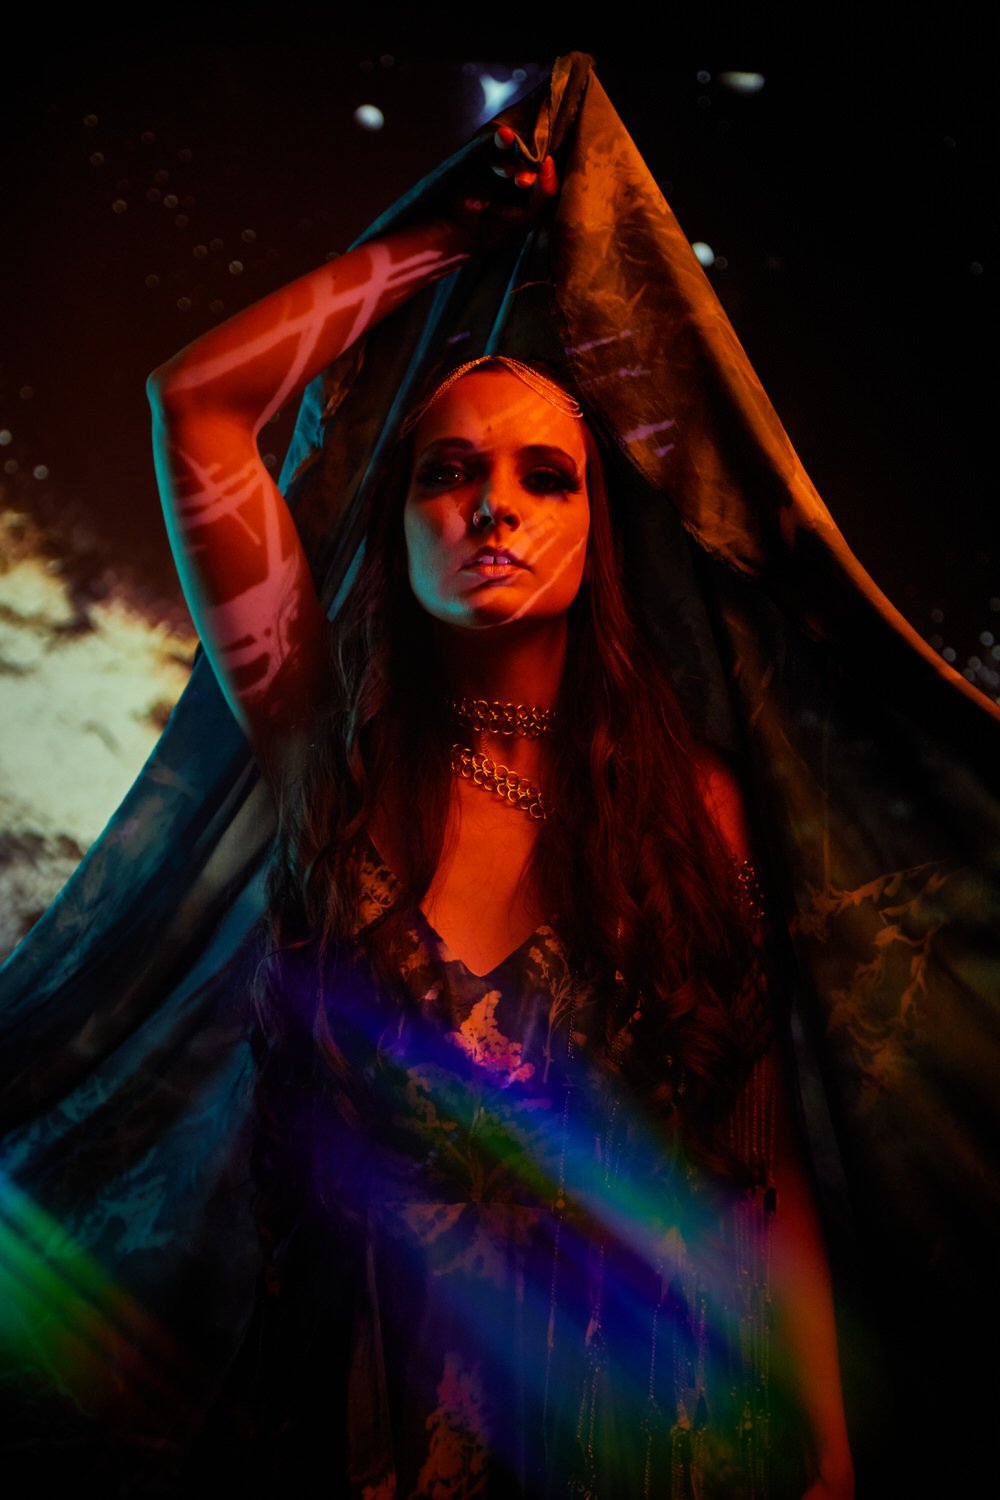
Zone 4: The key light was a Profoto D2 modified with 36” Photek Softlighter colored with a Rosco orange gel. The kick light was a Profoto D1 modified with a Profoto 1x1' Softbox, placed camera left behind the model colored with a Rosco teal gel.
So, when you fire the camera on shutter burst mode it’s firing four zones: 1, 2, 3, and 4 continuously. And that cycle just repeats until you release the shutter.

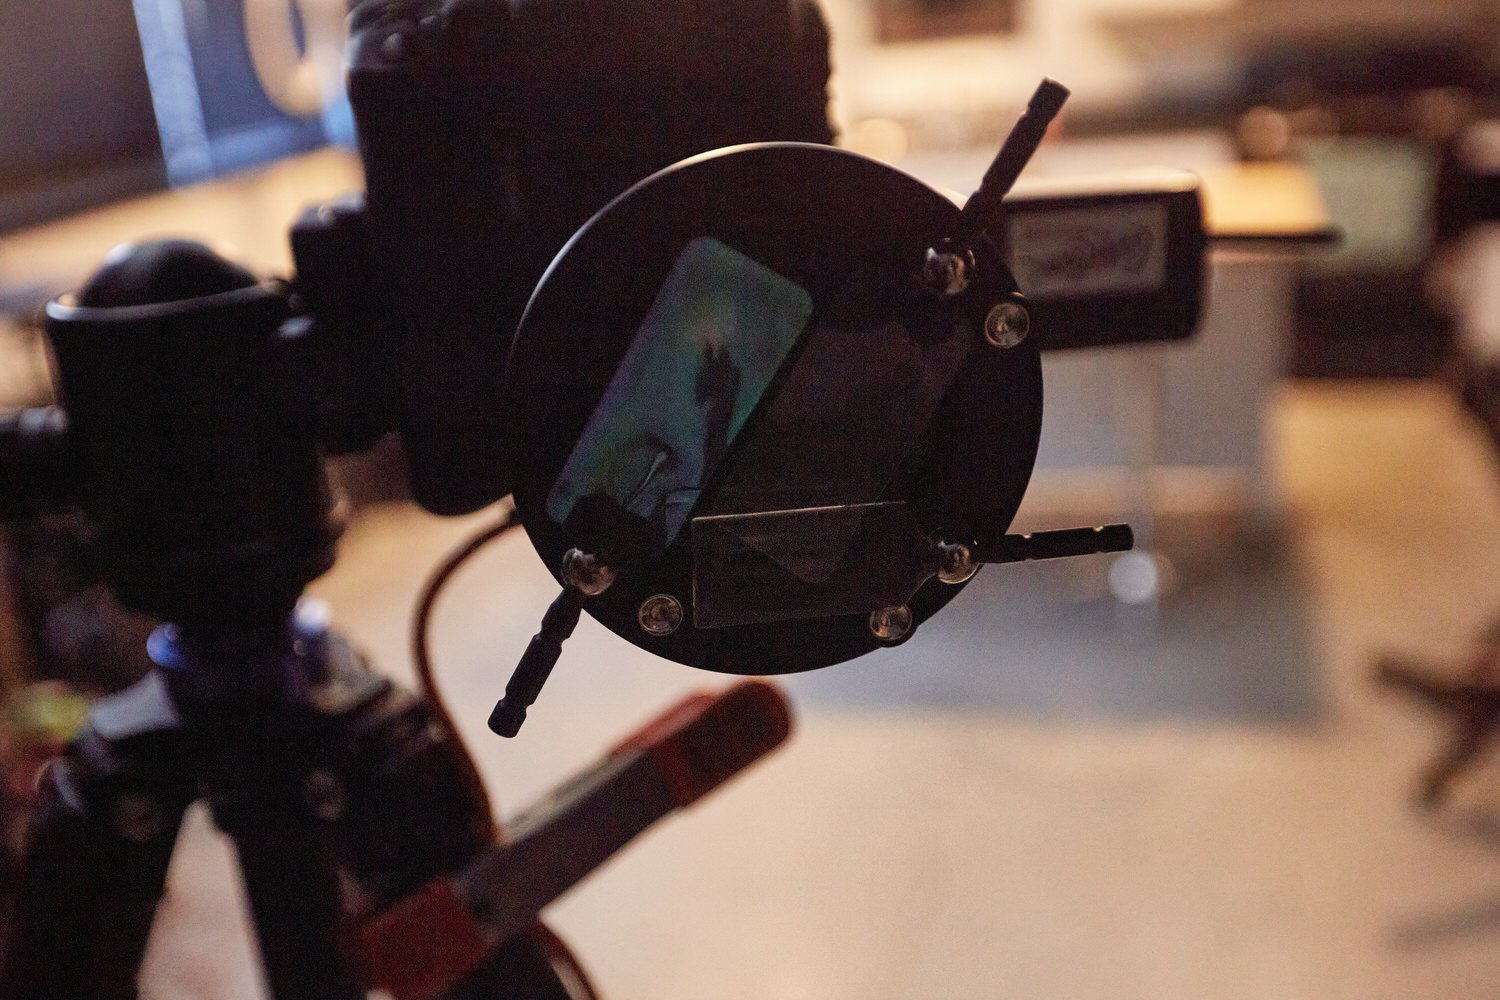
Then the foreground elements were on a loop of eight seconds with each element changing every half a second, while the background loop was repeated every ten seconds with each background changing every half a second. As an added layer of practical effects, I used and shifted the LensBaby Filter System to manipulate lens effects like rainbows, mirrors, and light trails as the model moved and every shutter snapped. With every burst of 10 frames, thousands of possible combinations came to be. As a final touch, we blended two colored gels together(blue and pink) and placed that over the bulb of the foreground projector which gave those half-a-second graphics a nice blend of color and knocked out the beige white light.

Pulling the strings of this project felt much like being a storyteller, setting all the pieces together and watching as they come alive on their own. While I trusted my vision through all the hurdles and late-night planning, I was actually nervous to receive feedback from the board and team at KMAC, but as always, the response has been humbling.
I’ve found that there's a balance between writing and photography. Because words are not two-dimensional, as they appear on a page, instead they inspire visuals, challenging our imaginations to explore new thoughts or simply envision something we’ve never seen with our eyes. And likewise, when we view a photograph, we don’t process it in relation to other images we’ve seen, we express ourselves through the feelings it evokes. It was an inspiring endeavor to deep dive into Midjourney AI, and really push the boundaries of photography, lighting and artistry. I’ve learned that a lot is possible with technology, a great team, and lot of time and patience.

My crew was vital to the production, and I have to give a lot of admiration to Jonathon Chi, Miguel Jimenez and Ryan Grant for all the assistance in bringing this concept to life. Thank you to Christina Weixler with makeup, Caleb Yeske with the hair, Joy Thompson and Andrea Kaye Hanson as the designer and talent. Thank you to the entire team at KMAC for giving me the space to create and the runway to try something alien. Finally, I can’t take credit for the creation of this process, a big shout out to photographers Jeremy Cowart and Nick Fancher who creatively inspired me for this experiment.